Let's create a simple Windows Azure application in
Visual Studio that displays a list of database users. The Windows Azure
project is an ASP.NET application created with a special project
template: Cloud.
1. Configuring Your Development Environment
You must first configure
the Windows Azure Tools on your development environment to be able to
develop a Windows Azure ASP.NET application. You must be running Windows
Server 2008 or higher, or Windows Vista or higher. The Windows Azure
Tools provide a runtime environment on your machine that allows you to
develop and test a Windows Azure project. It basically runs a local
cloud for development purposes. After it's installed, you see a new
project type: Cloud. When creating your project in Visual Studio, you
can select the Cloud project type; an option to install the Windows
Azure Tools is available the first time you do so.
NOTE
If you need to download the Windows Azure Tools, go to the Microsoft Download Center at www.microsoft.com/downloads/.
Search for Azure Tools, and pick the version that applies best to your
Visual Studio version. Make sure to download and install this extension.
2. Creating Your First Visual Studio Cloud Project
To create a Visual Studio cloud project, follow these steps:
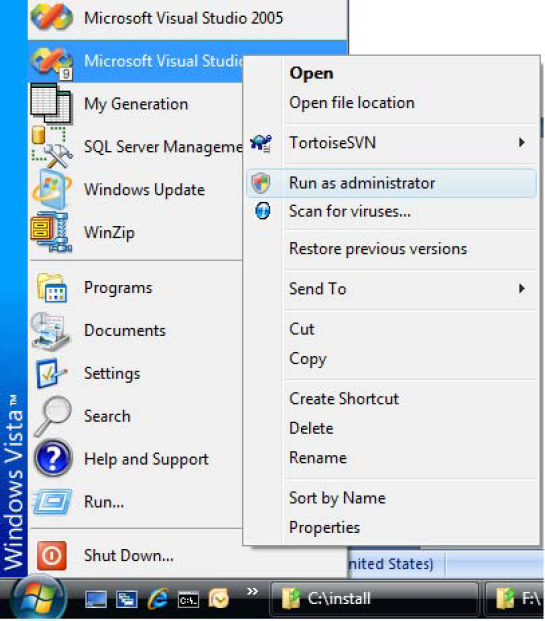
Start
Visual Studio in elevated mode (as an Administrator). To do so,
right-click Microsoft Visual Studio 2008 or Microsoft Visual Studio
2010, and select "Run as administrator," as shown in Figure 1.
Running as Administrator is required by the Windows Azure simulation
tools that give you the ability to test your Azure solution locally.
If you don't start Visual
Studio in elevated mode, you're able to create the project but you can't
run it. If you try, you get an error message telling you to restart
Visual Studio, as shown in Figure 2.

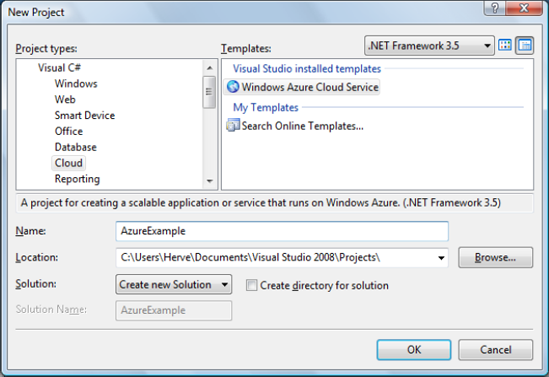
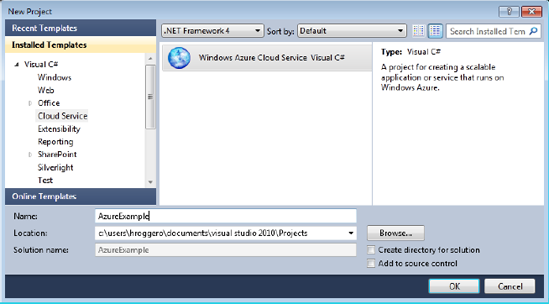
Choose File → New → New Project to bring up the window shown in Figure 3 for Visual Studio 2008 or Figure 9-8
for Visual Studio 2010. Select the Cloud project type (Cloud Service in
Visual Studio 2010), and choose Windows Azure Cloud service.
Enter a name for your project, and click OK. A new screen comes up (see Figure 5)
in which you can select a role for your application. The role of your
ASP.NET application dictates its primary purpose and what you're able to
do with the project. The following roles are available:
ASP.NET Web Role. Lets you create a web site with ASP.NET.
ASP.NET MVC 2 Web Role. Lets you create an MVC 2 web application (only available in Visual Studio 2010).
WCF Web Service Role. Allows you to create a WCF service in Windows Azure.
Worker Role. Equivalent to a background service in Windows Azure that has no user interface.
CGI Web Role. Lets you create a web application using a technology other than ASP.NET, such as Python.
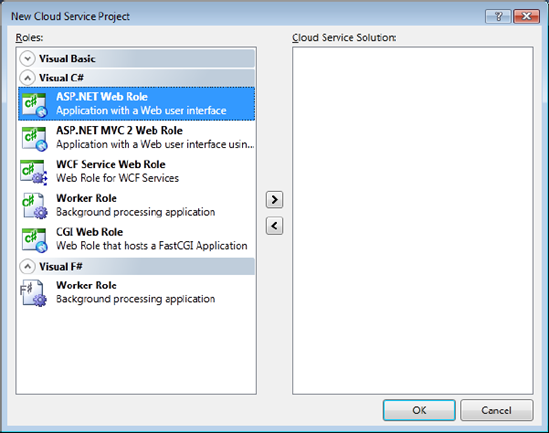
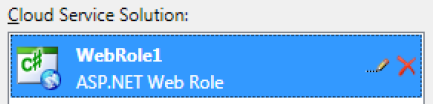
For this example, select the first option (ASP.NET Web Role), and click the right arrow ( ). Doing so adds a new ASP.NET web role in the list of services, named of WebRole1.
To
change the name, select WebRole1 and press the F2 key or click the Edit
link. To see the Edit link, place your mouse somewhere on the WebRole1
service list item: you see two icons come up on the right. The first one
(with the pencil) allows you to edit the name, and the second lets you
remove this web role (see Figure 6).
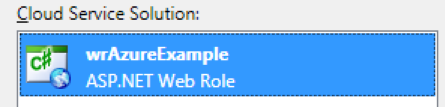
Change the name to wrAzureExample,
and press the Enter Key. Don't use AzureExample as the web role name,
or there will be a conflict with the solution name provided earlier. The
web role should now look like Figure 7.
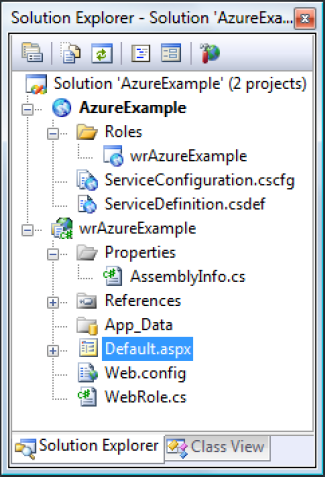
At this point, you've
created a new cloud solution. Solution Explorer looks a little different
than it does for a typical ASP.NET project. Your cloud solution
contains two projects: the AzureExample project and the wrAzureExample
web role, which is itself a project, as shown in Figure 8. The AzureExample project contains configuration files that will be deployed later in Windows Azure.
NOTE
At the time of this writing, Windows Azure supports .NET 3.5 SP1 and .NET 4.0.
3. Connecting a GridView to SQL Azure
Continue the example by following these steps:
Add a GridView control on the Default.aspx
page, and connect it to a SQL Azure database. Although SqlDataSource is
compatible with SQL Azure, it isn't possible to add a SqlDataSource and
configure it with the built-in wizard; these steps next show you how to
configure the SqlDataSource manually.
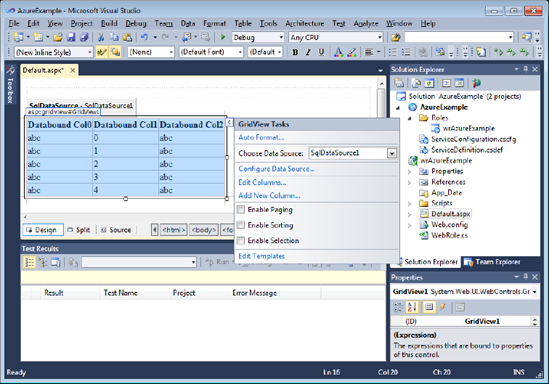
Open the Default.aspx page, and select Design view.
Drag a SqlDataSource from the Toolbox. Drag a GridView control on the page as well, and set its Data Source property to SqlDataSource1, as shown in Figure 9.
Open the web.config file, and enter your connection string. You need to add a connectionStrings node under the configuration node, as shown in the following example:
<connectionStrings>
     <add
          name="Connection1"
          providerName="System.Data.SqlClient"
         connectionString="Server=tcp:jt4y4mmglp.database.windows.net;
              Database=EnzoLog;User ID=test@jt4y4mmglp;
              Password=yourPasswordHere;
             Trusted_Connection=False;Encrypt=True;"/>
</connectionStrings>
NOTE
Make sure to specify the user ID as <user name>@<server name>.
Go back to the Default.aspx page, and change the SqlDataSource settings as follows by adding the ConnectionString and the SelectCommand settings manually.
<asp:SqlDataSource ID="SqlDataSource1" runat="server"
ConnectionString="<%$ ConnectionStrings:Connection1 %>"
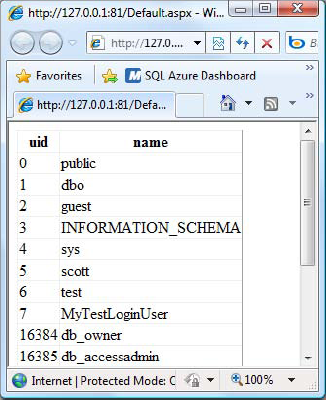
SelectCommand="SELECT uid, name FROM sys.sysusers ORDER BY 1" >
</asp:SqlDataSource>
Running the project should give you output similar to that shown in Figure 10.
So far, you're running this
project on the local machine. Although the Windows Azure Tools are
required, this project doesn't use any of the Windows Azure storage
options; it connects directly to a live SQL Azure database.
You could have created the
same project as a regular ASP.NET application and obtained the same
result. However, because you're about to deploy this project on Windows
Azure, you must create a cloud project.