BrowserForm Web Part
Rendering of InfoPath forms in the web browser is
carried out by the new BrowserForm web part. So that we can see this in
action, we’ll create a basic Hello World InfoPath form.
Using SharePoint Designer.
Follow the preceding steps to ensure that InfoPath Forms Services is enabled at the Site Collection level.
From
the Site Objects pane, select Lists and Libraries, and then select
Document Library from the New section of the Lists and Libraries tab on
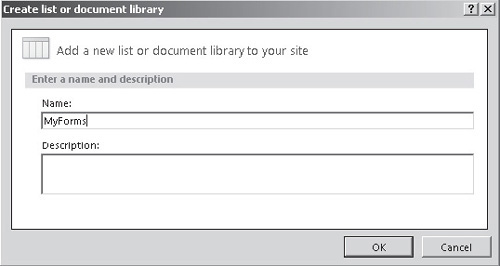
the ribbon. Create a new Form Library named MyForms, as shown:
Open
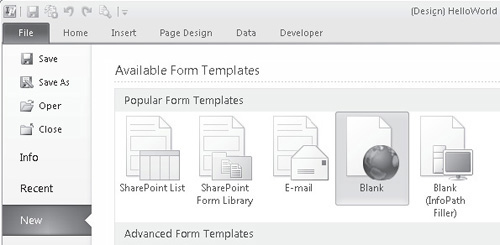
InfoPath Designer 2010, click on the File menu to see the backstage
area, choose New, and then click the Blank form icon, as shown:
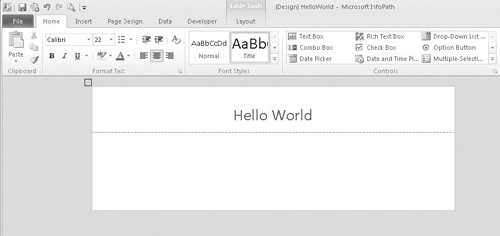
Click Design This Form to create a new form template.
Change the title to Hello World:
To
publish the form to SharePoint, open the File menu to return to the
backstage area. Click Publish Your Form to view the publishing options.
Select Publish Form to a SharePoint Library.
When prompted to save the form, save a copy to a location on the local file system.
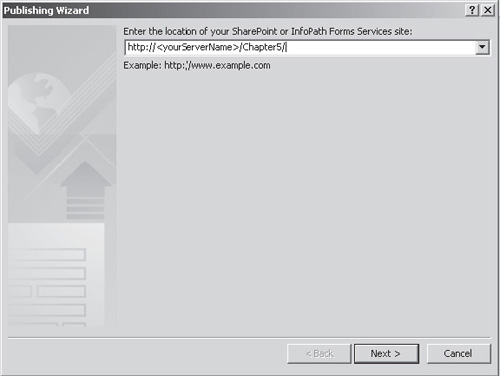
In
the Publishing Wizard dialog, enter the URL of the blank SharePoint
site that we created earlier, as shown. Click Next to move to the next
step.
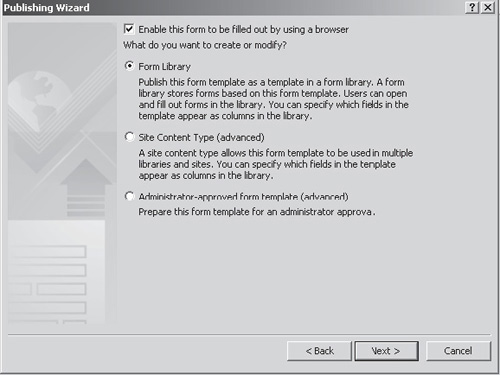
For
the purposes of this simple demonstration, we’ll publish the form as a
template for the form library that we created earlier. Select Form
Library from the list of options and ensure that the Enable This Form
To Be Filled Out By Using A Browser Checkbox is checked. Click Next to
move to the next step.
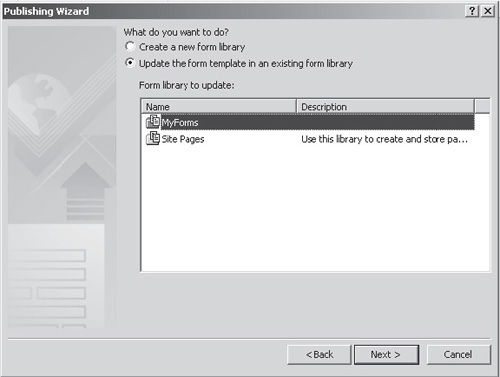
Select
Update The Form Template In An Existing Form Library and then select
the MyForms library from the list. Click Next to move to the next step.
In
this simple demo, we’re not collecting any data or using any
parameters. Click Next to move to the final step of the wizard, and
then click Publish to publish the form to SharePoint.
New in 2010—To
illustrate the use of the BrowserForm web part, we’ll add the web part
to the home page of our blank site and then configure it to pick up the
Hello Word form that we’ve published.
Using
the web browser, navigate to the home page of the blank site that we
created earlier (http://<YourServerName>/chapter5/default.aspx).
From the Site Actions menu on the ribbon, choose Edit Page.
In
the Left section, click the Add a Web Part link and then, in the web
part selector that appears at the top of the page, select the Office
Client Applications category, as shown:
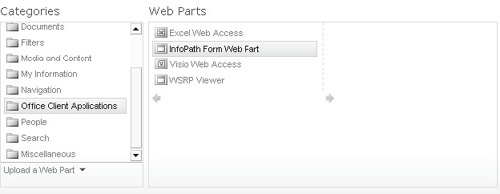
Select the InfoPath Form Web Part, and then click Add at the far right of the window to add it into the left zone of the page.
Click the Click Here To Open The Tool Pane link in the InfoPath Form Web Part section of the page.
From
the List or Library drop-down, select MyForms. The Content Type and
Views drop-downs will be populated automatically. Click OK to commit
the changes.
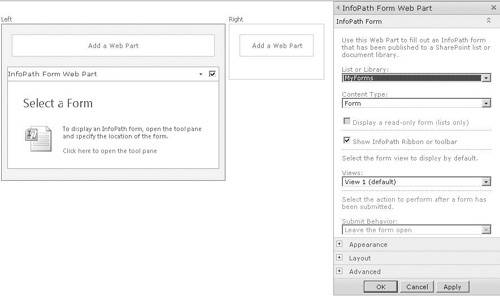
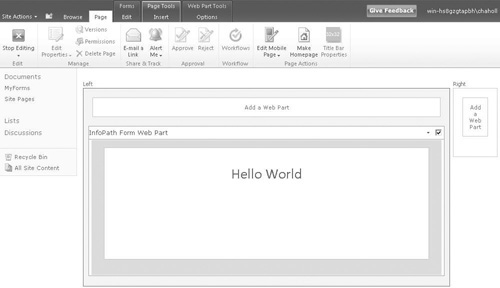
The
demonstration InfoPath form will now be displayed on the page, as shown
next. Click Stop Editing from the ribbon to exit design mode.
In
this simple example, you’ve seen how to create an InfoPath form and use
it within a web part page. In the examples that follow, we’ll delve
further into the functionality of InfoPath. However, as you’ll see, the
publishing mechanism remains pretty much the same regardless of the
type of form you’re creating.