Bored with your USB thumb drive’s
functional appearance? Antony Leather shows you how to make your own
While they can be immensely useful, USB
thumb drives often look bland. This is especially true of the generic,
bargain-basement types, which are often housed in unadventurous plastic boxes.
Thankfully, there are ways to add some pizzazz, or even create your own custom
case. You can create a mould and use casting resin to create practically any
shape of USB flash drive you want, and then add dyes or glitter to make really
it stand out.
Alternatively, you can also go the whole
hog and use a random object such as a LEGO brick or Micro Machine as the housing
for your creation. As this is Custom PC, we decided to dust off an old LGA775
Core 2 processor and put it to use as a USB flash drive. Now that even 32GB USB
flash drives will set you back less than $22, there’s little reason not to give
this a try.
Tools you’ll need
·
Clear plastic casting resin (250g for casting
one USB flash drive)
·
Plasticine or wax and polystyrene foam
Most art supply stores
·
Epoxy resin (for making a CPU flash drive)
Most hardware stores
Make a cast-mould thumb drive
1. Pick the right flash drive
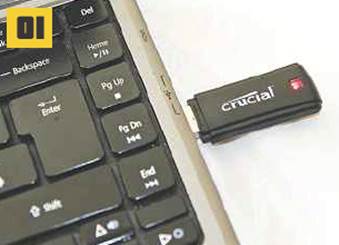
If you’re keen on obtaining a glowing
effect through transparent acrylic then it’s very important to choose a USB
flash drive that has a powerful access LED. Some don’t have an access LED at
all, while others have a point light, rather than a bright LED. Shop around
until you find one that suits your needs.
2. Decide on colors and design
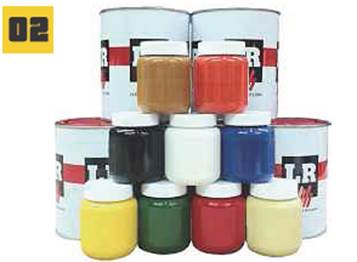
There are plenty of options when it comes
to creating your custom USB thumb drive. You can use clear or opaque casting
resin, and also use dyes to give the otherwise clear finish a colored tint. You
can also add glitter, pieces of metal or other objects to jazz up your design a
little more.
3. Remove enclosure and inspect PCB
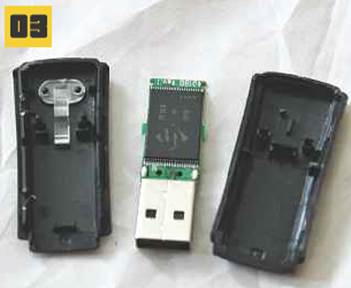
Dismantling a USB flash drive is usually
pretty easy, despite the fact that most are sealed units. Ours just needed a
little persuasion with a small screwdriver, but be careful not to damage the
PCB. Once you’ve removed it, plug it into a PC to make sure it still works.
4. Plan your casting mould.
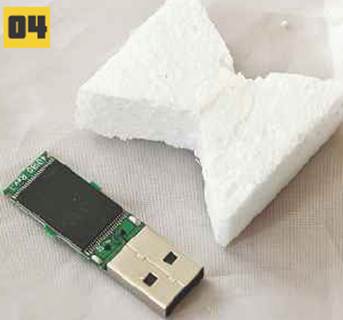
There are several ways to create the shell.
You can use sections of wood to create a cube-shaped mould, or Plasticine or
wax with a polystyrene cast to create a mould instead. We used high-density
polystyrene foam to create a 1:1 scale model of our shell. Use sandpaper and a Stanley knife to trim the foam to shape.
5. Create a mould
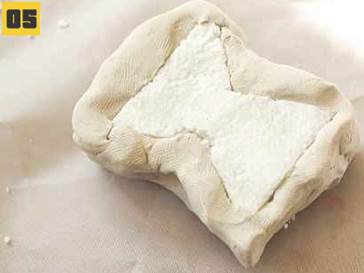
The foam enables you to create a mould
using Plasticine, into which you can pour the casting resin. It’s easy to work
with Plasticine, so you can create many shapes and sizes of enclosures. Once
you’ve moulded the Plasticine around the foam, start digging out the foam,
taking care not to deform the mould.
6. Insert USB Thumbdrive
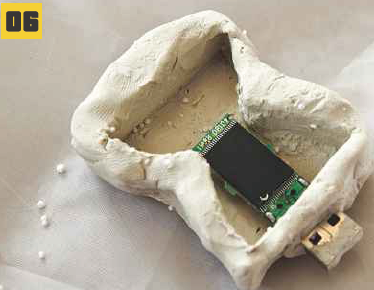
The easiest way to suspend the USB
Thumbdrive is to simply insert it into the wall of the Plasticine. As it’s very
small and light, the Plasticine should be strong enough to hold it in place
while the resin sets. It’s worth filling the USB connector with spare foam, as
the Plasticine will dig into the connector as you insert it.
7. Mix casting resin
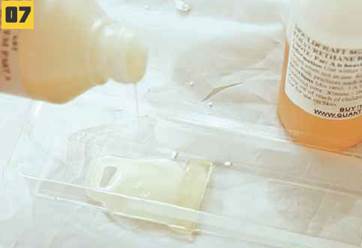
The casting resin usually doesn’t start to
set for at least 20 minutes after mixing, but you should still prepare your
working area and mould, so that you’re ready to pour the resin directly into
your mould as soon as possible, just to be safe. Use a plastic tub to mix the
resin, following the guidelines about the mix ratio.
8. Add glitter to casting resin
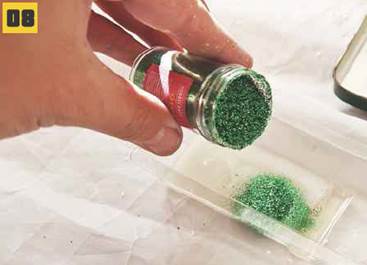
We decided to add some glitter to the
resin, which will reflect the LED light and add a little pizzazz. Quickly add
this, or your chosen material, and then mix the resin. It’s important to mix it
thoroughly but not too vigorously, as this can introduce air bubbles, which
will be trapped in the resin.
9. Pour casting resin
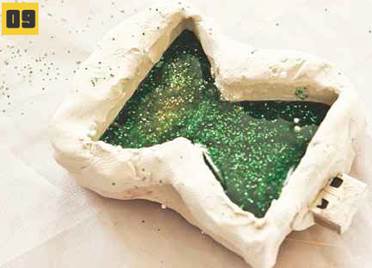
Once you’ve mixed the resin, give your
mould a once-over, making sure the USB thumb drive is still centred in it, and
that the mould is resting on a flat surface. You can then pour the casting
resin into the mould.
10. Allow to set and remove mould
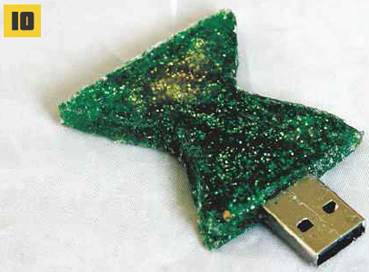
Don’t be tempted to mix the resin around to
fill the corners, as you’ll run the risk of the edges becoming frayed instead
of straight gravity will do its work. Setting times will vary depending on the
type of casting resin, but it’s usually best to wait 24 hours before removing
the mould from your new USB thumb drive.
Make a CPU thumbdrive
1. Choose your object
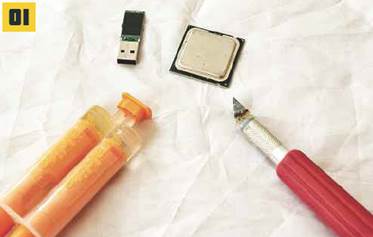
Rather than using casting resin, you can use
an existing object to house your USB thumb drive. LEGO bricks work well, as do
Micro Machines, but we had an old Core 2 CPU lying around collecting dust, so
we decided to put it to good use.
2. Measure the PCB
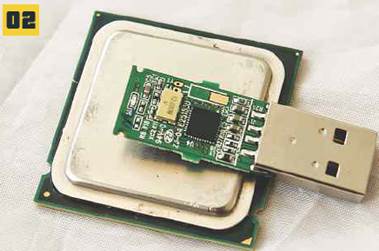
Before you do anything, measure up the PCB and
your chosen object to make sure everything will fit. There isn’t a lot of room
under the HIS of a CPU, so make sure there are no tall components on the PCB.
You don’t need a large, powerful LED either, as the hole of the PCB will be
enclosed within the CPU.
3. Remove adhesive
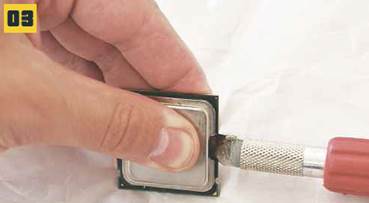
You’ll need to remove the HIS first, by
running a scalpel around the edges of the CPU to cut away the adhesive. This is
exactly the same as the method used in last issue’s Ivy Bridge modding guide.
It will help to hold the CPU in a pair of pliers, using kitchen roll to prevent
scratches.
4. Remove the IHS
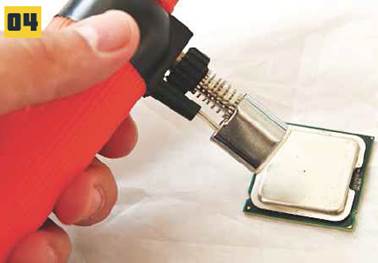
Most CPU cores are held to the IHS using
solder, and this can make it tricky to remove them from each other. If prying
open the IHS with a small screwdriver doesn’t work, it’s worth investing in a
mini-blow torch to heat the solder. These only cost a few pounds and will do
the job in seconds.
5. Make room for the thumb drive
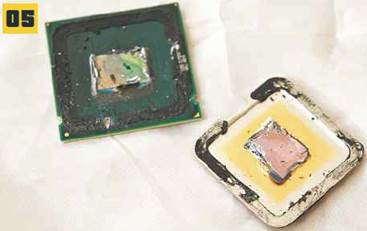
You’ll need to commit heresy and remove the
CPU core, using either a Dremel with a cutting or grinding disc, or a
screwdriver and knife to gradually cut away at it. You may also need to cut a
recess in the CPU package, and you’ll need to cut a small section of the IHS to
allow the thumbdrive to pass through it too.
6. Stick it together
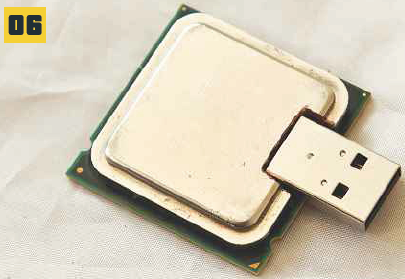
Line up the thumb drive on your CPU, apply
a generous amount of epoxy to the PC and replace the IHS. It’s worth placing a
heavy object on the CPU to ensure it sets tightly together. Epoxy will need an
hour or so to set, but it’s best to leave it overnight before you try inserting
it into a USB port just to be sure.