In the last few months, we have
reviewed several hybrid devices that had a Windows 8 operating system. The Live
Tiles and mobile-centric apps got irritating at times. Especially when you want
to access your system to send an urgent mail. For die hard desktop users this
can be quite a pain. But now you don't need to worry as the next few steps will
tell you exactly how to get rid of Metro. We did come to a point where we
appreciated Windows 7 more but after this we are back to loving Windows 8.
Step 1
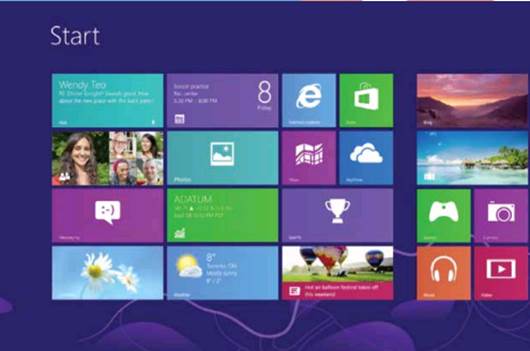
Most apps that you use on a daily basis
like your E - Mail client, Messengers,
Music Players, etc. are tiled on the main
screen. You will need to find alternatives for these applications. Once done
you can either add these icons to your desktop screen (either as shortcuts or
direct access) or pin them to your taskbar.
How
to get rid of metro from your Windows 8 device
Before
Step 2
Next, you'll want to make those programs
the defaults for opening their associated file types—to prevent
Windows 8 from opening files with the Modern apps that ship with the system.
Simply go to your control panel and set your default programs. The default
address for the same on your computer would be Control Panel > Programs >
Default Programs > Set your default programs. Once you see a list of all
programs, set the newly downloaded alternative ones as your default apps.
Step 3
This is pretty much decide how much you
want to change the layout of your Windows 8 computer. If you truly hate the
layout then you must download a program that places the shutdown button as an
icon on the desktop of the device. Start8 or Classic Shell are the probable
options to choose from. For whatever apps you like from the tile layout, you
can simply create icons of these and add them to your desktop.
To do so, right-click on your desktop and
select New > Shortcut. Copy and paste the following text into the Location
box, and then click Next:
%windir%\explorer.exe
shell:::{2559a1f8-21d7-11d4-bdaf-00c04f60b9f0}
Give the shortcut a name - I went with the
straightforward "All Apps" - and then click Finish. At once, a
shortcut to the All Apps screen appears on your desktop, which you can pin to
your taskbar if you so desire. The All Apps screen includes a full-screen list
of all the programs on your computer, or you can start typing the name of a
file to initiate a search.
Step 4
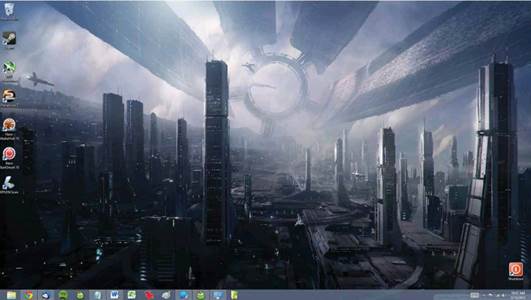
Once you have configured and sorted the
start and shut down button issue, you will be required to set up the system to
boot directly to the desktop. For this you will need to bypass the Windows 8
start screen. open the Task Scheduler by typing Schedule task in the Settings
search on the All Apps screen. Create a task that boots to desktop. Open the
Triggers tab, select New, and choose At log on in the 'Begin the task'
drop-down menu at top. Click OK, and then open the Actions tab, select New once
again, and enter explorer in the Program/script field. Save this and you are
all set. Now every time you start the computer, you will automatically jump to
the desktop.
Step 5
Finally now you need to create a shutdown
icon so that you no longer need to swipe to shut down your system the next time
around. For this, right click on the desktop and choose new. Under that choose
Shortcut and type the following in the location field "shutdown /s /t
0" On the next screen, name the shortcut as shutdown and click finish. You
will see that the icon now appears like a generic icon. Right click and go to
edit icon and you will see a host of various icon available. Select the Red
shutdown button from the same.
Added Benefit - Get Rid Of The Lock Screen:
This could be one of the aspects that irritates you in the Windows 8 layout.
You can get rid of this too with ease.
Search for "Run" or press Windows
+ R on your keyboard to open the Run command. Type gpedit.msc and press Enter.
Navigate to Computer Configuration > Administrative Templates > Control
Panel > Personalization in the Local Group Policy Editor's left-hand menu
pane. Click the Do Not Display the Lock Screen option that appears in the main
pane, select the Enabled option in the new window, and click OK to save your
changes and never see the silly lock screen again.
Final