Another
high-availability technology provided with the Windows Server 2008
platform is Network Load Balancing (NLB). NLB clusters provide high
network performance and availability by balancing client requests across
several server systems. When the client load increases, Windows NLB
clusters can easily be scaled out by adding more nodes to the NLB
configuration, to maintain an acceptable client response time to client
requests.
Using NLB offers
administrators the ability to leverage two dynamic features: First, to
implement Windows NLB clusters, no proprietary hardware is required and
NLB clusters can be implemented and configured through Windows
management interfaces fairly easily and quickly.
NLB clusters are
most effectively used to provide front-end support for web applications,
virus scanning, and Simple Mail Transfer Protocol (SMTP) gateways.
Because they are a very effective solution when used for web application
functionality, NLB technology is a very effective solution for
front-end access to Exchange Outlook Web App and terminal servers
maintaining Exchange Server client software.
NLB clusters can grow to 32
nodes, and if larger cluster farms are necessary, the Microsoft
Application Center server can be considered as an option for server
platform support, along with technologies such as domain name system
(DNS) round-robin to meet larger client access demands.
NLB Modes and Port Configuration Overview
In Unicast mode,
clients and servers maintain a one-to-one relationship when
communicating. In Multicast mode, servers respond by broadcasting a
single, multicast address, which clients attach to when accessing
information such as websites. NLB groups configured in Unicast mode will
have a tendency to flood the switch to which they are connected, as the
switch will need to pass traffic to all ports to be sure that all
potential NLB nodes see the requests. If one plans to utilize Unicast
mode NLB, it is recommended to place the NLB hosts onto their own VLAN
to limit the scope of this broadcast traffic. Systems configured with
Multicast mode will likely require minor changes to be made to the
network switches to bind the virtual MAC address in the ARP tables and
to define which ports should be forwarded traffic destined for that MAC
address. Systems configured in Multicast mode should have two or more
NICs installed to be properly supported.
For example, on a Cisco
switch running IOS, to configure an NLB group with a virtual MAC address
of 00-1D-60-18-83-83 and an IP address of 10.1.1.100:
Arp 10.1.1.100 001D.6018.8383
Mac-address-table static 001D.6018.8383 vlan 1 interface fa4/5 fa5/5
Where
the VLAN value matches the VLAN assigned to the ports to which the NLB
hosts are attached. Similarly, the “interface” will reference the ports
to which the NLB hosts are attached.
Another option
when configuring NLB with Outlook Web App is the ability to define the
ports in which NLB cluster members will respond to client requests. This
option is effective for the scenario because administrators can
restrict and allow access to ports such as Hypertext Transfer Protocol
(HTTP) port 80 and Secure Sockets Layer (SSL) port 443.
NLB Installations
One of the first steps
when configuring NLB cluster nodes in Windows 2008 is the installation
of Network Load Balancing as a feature. In Windows 2008, this isn’t
turned on by default and must be installed via the following steps:
1. | From the Start menu, right click Computer and choose Manage.
|
2. | In the left pane, click Features.
|
3. | In the right pane, click Add Features (see Figure 1).
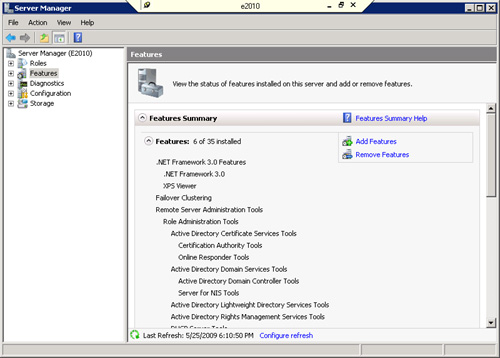
|
4. | Check the box for Network Load Balancing and click Next.
|
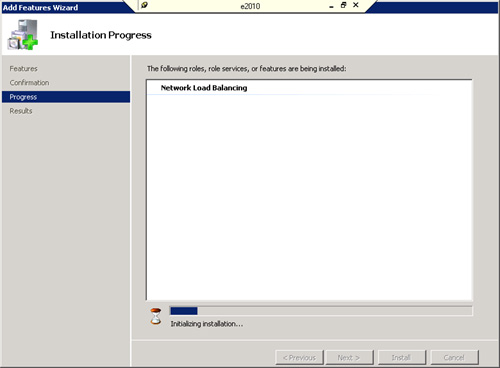
5. | Confirm the installation selections and click Install (see Figure 2).
|
6. | When the installation is completed, click Close.
|
7. | Repeat these steps for all nodes of the NLB group.
|
Next is the configuration
of the NICs in each server. A configuration of network cards can be
completed using the NLB Manager and the TCP/IP properties of each node’s
network interface. One other option for configuring NICs is the
command-line tool nlb.exe. This utility enables administrators to configure TCP/IP properties on NLB cluster nodes remotely and through the command line.
Configuring Network Load Balancing with Client Access Servers
Using the NLB Manager
is the simplest method in configuring Client Access Servers into a
load-balanced cluster configuration. When using the Network Load
Balancing Manager, all information regarding the NLB cluster and
load-balancing TCP/IP addresses is added dynamically to each cluster
node when configured. Using the NLB Manager also simplifies the tasks of
adding and removing nodes by enabling administrators to use the NetBIOS
name or TCP/IP address to identify nodes.
Tip
To effectively manage NLB clusters on remote servers, install and configure two NICs on the local NLB Manager system.
In the following
example, NLB services will be implemented to provide support with two
separate Outlook Web App servers. This scenario assumes that each
Outlook Web App server (client access server) has already been installed
and configured and is functioning.
To begin, configure the network cards for each Outlook Web App system that you plan to configure in the NLB cluster:
1. | Log on to the local console of an NLB node using an account with local Administrator privileges.
|
2. | Select Start, right-click Network and choose Properties.
|
3. | In the tasks list, click Manage network connections.
|
4. | Right-click the interface that will participate in the NLB group and choose Properties.
|
5. | Check the box labeled Network Load Balancing (NLB).
|
6. | Click OK.
|
7. | Repeat this process on all nodes that will participate in this NLB group.
|
Tip
It is a good
practice to rename each network card so you can easily identify it when
configuring interfaces and troubleshooting problems.
After Network Load
Balancing has been enabled on each node, it is time to configure the NLB
rules. This is most easily configured via the Network Load Balancing
Manager. To configure the NLB hosts, perform these steps:
1. | Log on to the local console of an NLB node using an account with local Administrator privileges.
|
2. | From the Start menu, click Run and type nlbmgr.exe.
|
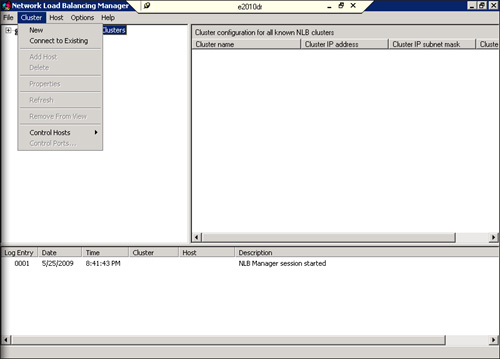
3. | From the Cluster menu, click New (see Figure 3).
|
4. | Enter the name of one of the hosts that will form the NLB group and click Connect.
|
5. | Highlight the interface that will be used for NLB and click Next.
|
6. | Set the Priority (this acts as a unique identifier) to a unique value for the NLB group and click Next.
|
7. | Click Add and enter an IP address and subnet mask for the NLB group to use. Click OK. Click Next.
|
8. | Enter a name for the NLB group to be known by. Set the cluster operation mode to the mode desired. Click Next.
|
9. | Highlight the defined port rule and click Edit. Set the port range to the range needed (i.e. 443 to 443). Click OK.
|
10. | If additional ports are needed to be load balanced, click Add and repeat step 9.
|
11. | Click Finish.
|
Note
A Windows 2008 host that
has the Windows Cluster services installed cannot be a member of an NLB
group. This means that a DAG member, while capable of running the CAS
and/or HT roles, cannot load balance those roles.
Additional CAS servers can be added to the NLB group by following these steps at any time.
1. | Log on to the local console of an NLB node using an account with local Administrator privileges.
|
2. | From the Start menu, click Run and type nlbmgr.exe.
|
3. | Right click the existing NLB group and choose Add Host.
|
4. | Type in the name of the host to add to the NLB group and click Add.
|
5. | Click Finish.
|
Validate that the
state of the clustered NLB system is listed in the NLB Manager as
Started, and close the Manager to complete the configuration of
additional servers.