For quick and accurate edits,
Pixelmator’s tools shine bright
Difficulty: Beginner
Time needed: 10 minutes
Editing images with Pixelmator can be a
real joy. Not only is it a really versatile image manipulation suite, but the
toolset is among some of the smartest we’ve had the pleasure of using. One such
tool that we’ve been attempting to master recently is the Magic Eraser, which
is a great way of removing background elements of a photo.
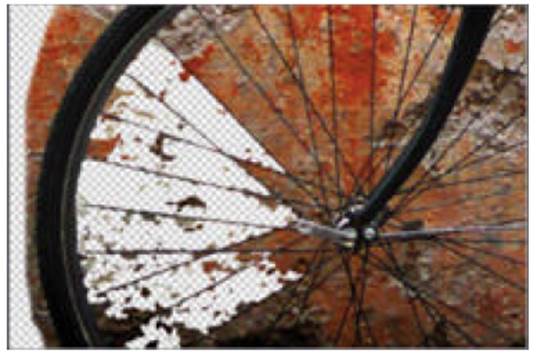
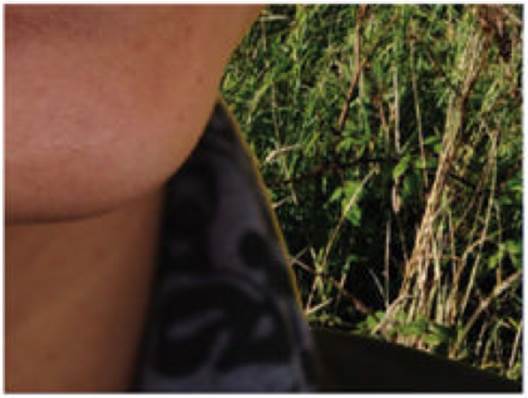
What you need to start with is an image
with a fairly plain, high-contrast background for the easiest experience in
removing it from the subject. More textured images can because you issues when
you increase the threshold because colors begin to blend. It’s not impossible,
but it can slow you up considerably, and at that point other tools may actually
be more worthwhile.
Step-by-step: Pixelmator Master the Magic Eraser
1.
Start selecting
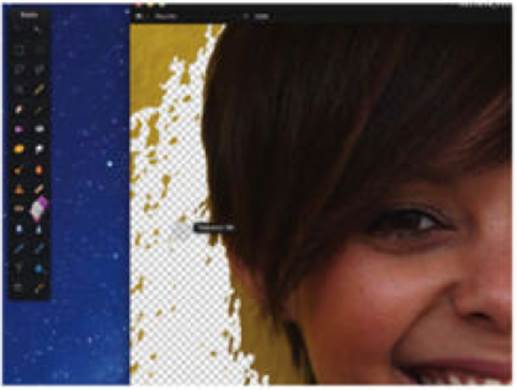
The Magic Eraser sits just below the
Healing tool. Tap and hold on your selected image to use it. As you drag away
from this center point, you set the threshold.
2.
Go slowly
Increasing the threshold too fast can
select more of the image than you want. Move in small segments, especially
around tough areas like hair.

3.
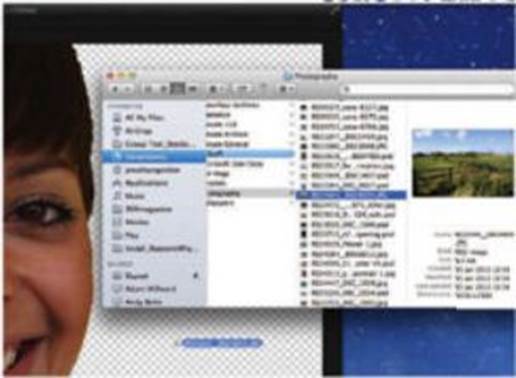
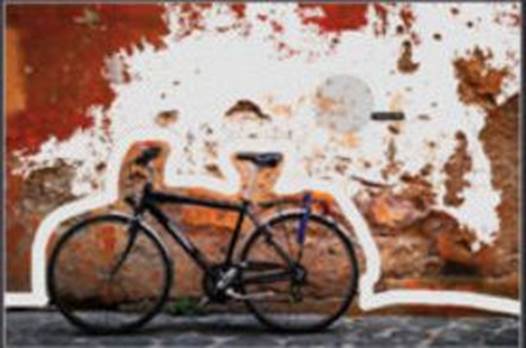
Replace background
With the background of your image removed,
drag and drop a new photo on top. Resize the image to fit your frame and then
move the layer to the back.
4.
Find details
With your original photo on top you should
be able to pick out any areas that still need fixing. Reselect the Magic Eraser
and tidy up some of those loose edges.
More quick tips
How to make Magic Eraser’s job easier
1.
Draw a boundary
Using the standard Eraser tool you can draw
a boundary around an image’s subject. This should make selecting larger areas
to delete a lot easier. Now you can concentrate on details.
2.
Dark dangers
Intricate work is tough enough with Magic
Eraser, but when you have a dark subject against a dark background, setting a
threshold is tough. Think about changing brightness.