How to restore from Time Machine
Restoring data from Time Machine is just as
easy as backing things up in the first place.
A single file or folder
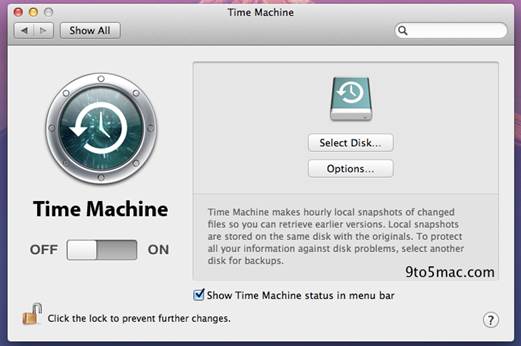
Start by connecting the external drive that
you use for Time Machine backups or by making sure that you can connect to your
Time Capsule. Click the Time Machine item in the menu bar at the top of the
screen (a clock with an arrow running counterclockwise), and choose Enter
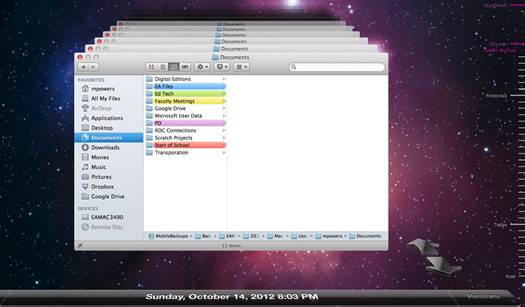
Time Machine. All of your saved backups will appear in chronological order.
Use the visual timeline on the right side to scroll through. The timeline
renders older dates in pink, and indicates the most current date in white.
(You’ll see the word “Now” in bold, white letters on the timeline.)
Not sure which backup might hold the last
copy of your missing file? Try running a Spotlight search in Time Machine based
on keywords.
With
Time Machine, you can look through multiple backup copies and restore just the
data you need
Once you think you’ve found what you’re
hunting for, use OS X’s Quick Look to make sure: Select the file and then press
the spacebar to view the file without having to launch its parent application.
Click the Restore button, and Time
Machine will copy the item to your desktop or to the file’s original folder.
This process may take some time.
An entire system
You
can perform a Spotlight search in Time Machine, using the search field
First connect your Time Machine drive. Then
start up your Mac from the Mountain Lion recovery partition by pressing (and
holding) z-R at startup. This action launches Recovery Mode, a portion of your
drive that Mountain Lion treats as a separate volume. It includes a few
essential utilities for restoring files in case of a problem. Note that for
this approach to work, you must have a complete Time Machine backup that
contains all system files.
The Mac OS X Utilities window appears.
Select Restore From Time Machine Backup. This command will erase the
destination drive – that is, your Mac – so use it only if you’re restoring an
entire volume to its original source or to a replacement drive. (For setting up
a new Mac or transferring data between Macs, see go.macworld.com/tmrestore.)
Click Continue until you reach
“Select a Backup Source”. Choose your Time Machine drive and click Continue.
In ‘Select a Destination’, choose your Mac’s hard drive. Although Recovery Mode
erases your Mac’s hard drive before restoring from Time Machine, once the
process is done you’ll be able to log in and use your Mac normally.
How to restore from the cloud
Online backups are a useful component of a
well-balanced strategy. Whether you rely on cloud storage (“The Basic Backup”)
or you use it to supplement bootable duplicates and other local backups (“The
Bulletproof Backup Plan”), it’s crucial to know how to restore data after
disaster strikes.

How
to restore from the cloud
Disaster is
the operative word. If you need to restore a few individual files or folders,
usually that’s simple enough. But what if your hard disk dies or your Mac is
stolen, and you buy new gear? Such situations require a different strategy,
because your online backups almost certainly don’t have every single file on
your Mac; and even with a fast broadband connection, you may be looking at days
or weeks to restore your cloud data.
One way or another, you must first get your
Mac back to basic functionality, and then – perhaps by stages restore essential
missing files from the cloud. How you do so depends on what other backups you
have available.
If you have no other backups
Let’s start with the least pleasant
scenario: Your only backups are in the cloud. You have to do more work and wait
longer; but if you backed up crucial files, you will return to a happy place in
due time.
Set Up OS X
Make sure that your drive has OS X installed. If you’ve had to replace a
defective drive with a new, empty drive, you’ll need to install OS X on it
first.

Set
up OS X
If your Mac shipped with an older version
of OS X that included physical installation media (a DVD, CD, or flash drive) –
or if you planned ahead and made a recovery volume via the OS X Recovery Disk
Assistant – start from that media and run the installer. Newer Macs (released
in the past two years or so) instead rely on OS X Internet Recovery; hold z-R as you
restart, and follow the prompts.
Run Your Backup or Sync Software Your next step is to download and install whatever cloud-backup or
sync program you used. Run the software and sign into your account.
With sync software, such as Dropbox,
SpiderOak, and SugarSync, all your synced files will download in the
back-ground. With backup software, like Backblaze, CrashPlan, or MozyHome
(mozy.com), follow the instructions for restoring current copies of your files.
(You might skip restoring email, contacts, and calendars, as I’ll discuss in a
bit.) Restoration speed depends on your broadband connection. If you find that
it’s too slow, you can ask the cloud provider to ship your data overnight on a
hard drive, DVD, or flash drive (for an extra fee, naturally).
Reinstall Your Applications Most cloud backup services don’t back up apps. You’ll have to
reinstall them from the Mac App Store (Apple menu ð App Store),
download them from the developer’s sites, or use original installation media.
Re-download Purchased Media In iTunes, you can re-download purchased music, movies, TV shows,
books, and iOS apps (which you may not have included in your online backups or syncs).
And if you use Apple’s $25-per-year iTunes Match service, you can download
fresh copies of all your music tracks (even those not purchased from Apple).
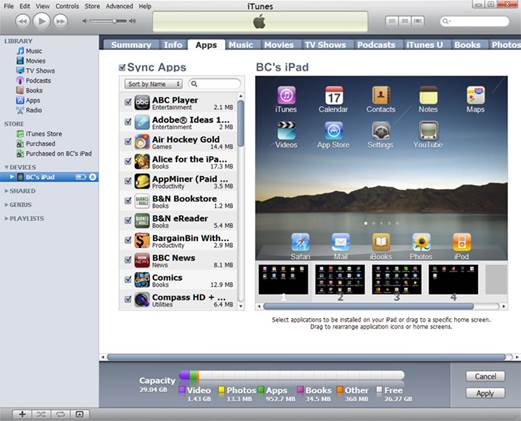
Under
‘Not on This Computer’ you can see the purchased music, movies, TV shows, apps,
and books you need to reacquire
Use Photo Stream to Restore Photos If you previously enabled iCloud’s Photo Stream, open Aperture
(go.macworld.com/aperture) or iPhoto (go.macworld.com/iphotorev), make sure the
feature is still enabled (check the Photo Stream preference pane), and sit back
while up to 1000 of your most recent photos download to your Mac.
Sync Email, Contacts, and Calendars If you rely on cloud services for email, contacts, and calendars –
particularly iCloud, Google, Exchange servers, and (for email only) other IMAP
servers, getting your data back into apps such as Mail, Contacts, and Calendars
is usually as easy as signing in to your accounts and waiting for the data to
Sync from the server to your Mac. It’s better to grab this data from the server
rather than restoring it from backups, because the server almost certainly has
fresher versions, and restoring from backups may result in irritating
collisions with live server syncing.
If you have only a Time Machine backup
Let’s say you supplemented your cloud
syncing or backups only with Time Machine. This means you can restore every
file on your disk, including OS X itself and your apps, to their state when
Time Machine last ran – even if you install a new, blank drive. Restore the
Time Machine backup first, and then use your cloud sync or backup software to
retrieve any files that may have changed since that backup. (You will probably
have few if any of these.)
I should mention that if you use Dolly
Drive to store Time Machine backups in the cloud, restoring your whole disk
over the Internet may be impractical. I recommend that you also have a bootable
duplicate (or “clone”) of your startup volume; read on for details.
If you have a local bootable duplicate
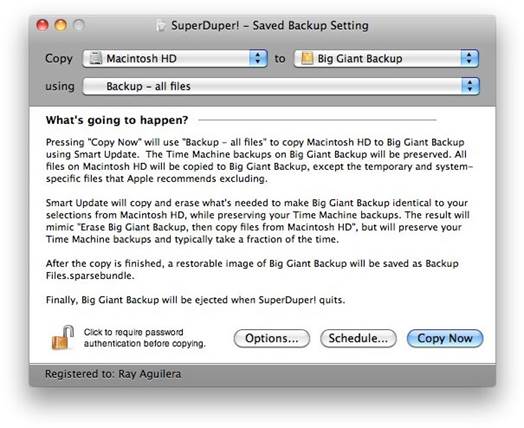
Restoring
a disk from a bootable duplicate is simple. Start from the duplicate and then,
using an app such as SuperDuper, select the duplicate as the source and your
internal disk as the destination.
If, in addition to cloud backups, you made
a bootable duplicate of your disk, restoring that first will give you the
fastest path, by far, to complete recovery. Attach the disk containing your
duplicate to your Mac, and restart while holding <Option>. Select the
duplicate and press <Return> to start up from that disk. Run the app you
used to make the duplicate, such as Carbon Copy Cloner or SuperDuper, to
reverse the process, with your duplicate as the source and your new, empty
internal disk as the destination.
Within a few hours, the restoration should
be done. Use the Startup Disk pane of System Preferences to set the startup
volume to be your internal disk, and restart. Your Mac should now be as it was
the last time you updated your duplicate, which, if you take my advice, will be
no less often than once a week.
Now, download any files you backed up to the
cloud since that duplicate was last updated. Cloud-sync services will do so
automatically in the background. For some backup apps, you may have to select
individual files manually or restore everything, which involves overwriting
many files with copies from the cloud.