Use Chapter Markers to give your
Final Cut projects a professional finish
Difficulty:
Intermediate
Time needed:
10 minutes
The festive season may well be a distant
memory, but let’s not forget we’ve got smartphones capable of shooting great
quality video to capture those special moments. If you filmed your Christmas
and New Year’s Eve shenanigans on your iPhone 5’s brilliant four-inch screen,
chances are that you’re going to want to cut all of your clips together and
export them to a DVD for viewing in the future.
With these types of DVDs, you might just
want to watch one bit; perhaps the moment that Uncle Joe over-indulged in the
sherry and fell asleep face first in his Christmas dinner, for example. To do
this, you need to split your DVD into chapters – like a book. This enables you
to skip to the part that you want to see. Sounds complicated? Not with Final
Cut Pro X – all it takes is a few clicks. Pull up a chair, fire up Final Cut
Pro X and let’s get started…
The
festive season may well be a distant memory, but let’s not forget we’ve got
smartphones capable of shooting great quality video to capture those special moments.
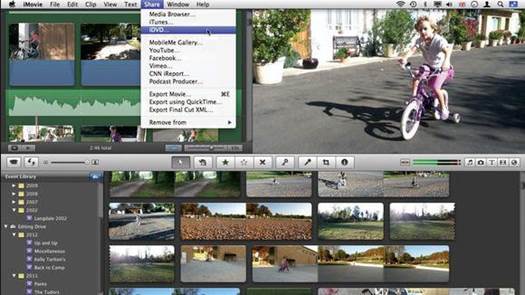
Share menu
Select the File menu and choose the Share
option from the drop-down that appears. This is the menu you’ll need to begin
the process of exporting your project to DVD, or another platform such as
YouTube
Send to Compressor
Want to have full control over how your DVD
looks? Send your project to Compressor, which offers DVD customizations such as
adding menus and titles. To do this, click File and select Send to Compressor
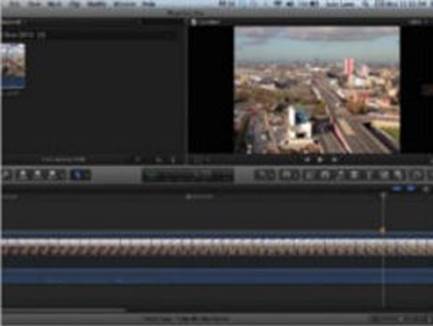
Zoom in
The Zoom slider enables you to see more (or
less) of your project. It works by showing more or less frames in each clip –
making it easier to locate the perfect Chapter Marker thumbnail
Quick share
Click the share icon on the right-hand side
of the Final Cut Pro X interface in order to see options which will enable you
to easily export your project to be shared with other people
It
works by showing more or less frames in each clip – making it easier to locate
the perfect Chapter Marker thumbnail
Knowledge base - Customizing your DVD
Final Cut Pro X offers you the opportunity
to export your projects to DVD, but the DVD will play as exported. If you’re
looking for a little more control over how your final DVD will look, Compressor
(available from the App Store) will do that job for you – and it’s just as easy
to use as Final Cut Pro X!
Step-by-step: Final Cut Pro X Add Chapter Markers to your
project
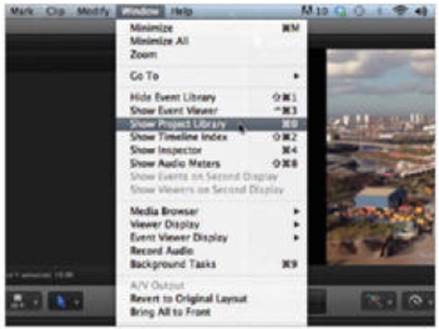
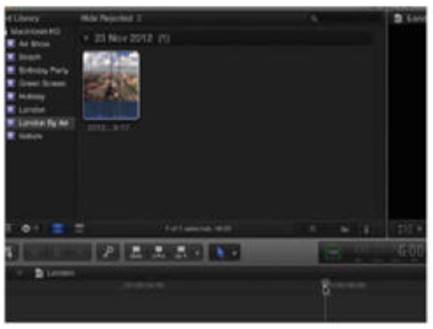
1.
Open your project
Navigate to the Project Library and
double-click on your project to open it. Can’t see the Project Library? Click
Window>Show Project Library.
2.
Find your place
Click on the play head and drag it left or
right along the Timeline to the place in your project where you want to mark
the start of the new chapter.
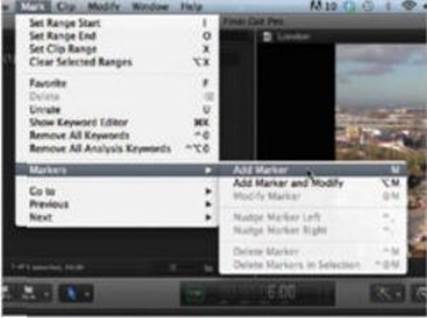
3.
Mark your chapter
Select the Mark menu and choose
Marker>Add Marker from the drop-down menu. Or save time by pressing the M
key to set the Marker.
4.
See Marker options
The Marker will appear in blue. If you
hover your cursor, it will enlarge slightly. Double-click on the Marker and
click the bookmark icon.
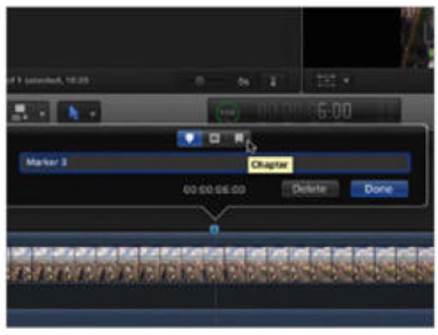
5.
Convert your marker
Clicking on the bookmark icon converts the
Marker into a Chapter Marker. The Marker icon on the Timeline will change
color, from blue to orange.
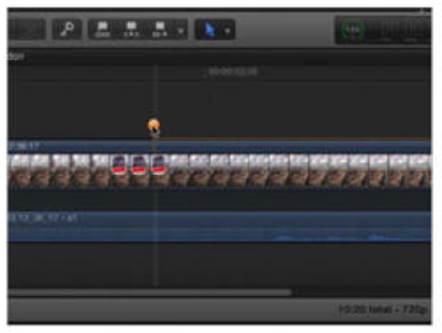
6.
Chapter Marker image
Happy? Click Done. We’re going to look at
choosing an image for the chapter. Single-click the Chapter Marker. You’ll
notice a large pin to the right.
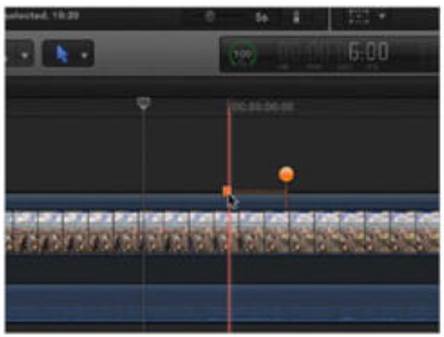
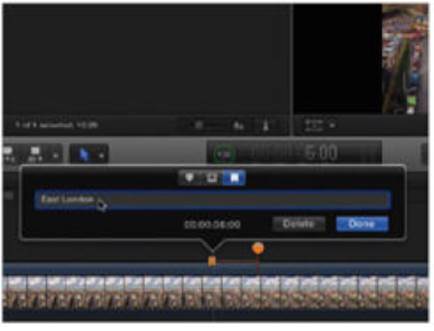
7.
Image Marker pin
This pin marks the frame used as the
chapter’s thumbnail. By default, the pin will use the thumbnail from the
eleventh frame after the Chapter Marker.
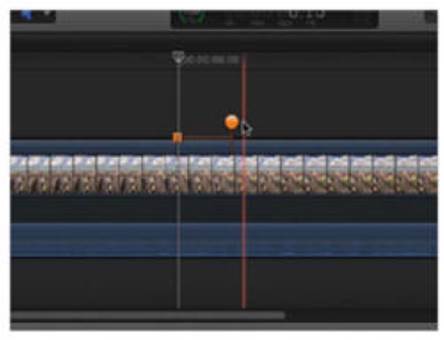
8.
Find your image
To change the image used, click the pin and
drag it left or right along the Timeline. Use the Viewer to locate the right
frame to mark your chapter with.
9.
You’re all set
Once you’re satisfied that you’ve found the
right frame, let go of the pin. That’s all there is to it – you’re all set to
export your finished project to DVD.