For the most basic usage of the camera on the phone, the CameraCaptureTask will enable you to launch the camera and return an image. In many cases, it is more useful to have full control over the camera for real-time access to the camera hardware. For building your own camera applications, the PhotoCamera
class represents access to the photo hardware. When you need real-time
access to the hardware, Windows Phone also exposes raw hardware access
APIs (including CaptureSource, AudioSink, and VideoSink).
1. Using the PhotoCamera Class
The PhotoCamera class represents
the phone’s camera and allows you to easily build photo-taking
applications with it. To get started, you will need an instance of the PhotoCamera class. You can use that class as the source of a VideoBrush to paint the “viewfinder” in your application, like so:
public partial class MainPage : PhoneApplicationPage
{
PhotoCamera theCamera = null;
protected override void OnNavigatedTo(NavigationEventArgs e)
{
theCamera = new PhotoCamera();
// Set the Camera as the source for the VideoBrush
previewBrush.SetSource(theCamera);
...
Using the PhotoCamera as the source of the VideoBrush causes a real-time image to be painted wherever you’re using a VideoBrush.
After you have the camera created and showing up on the page, you need
to wire up the camera’s functionality to use it. The first thing to do
in wiring the camera is to handle the Initialized event.
This event is important to handle, as many of the camera settings (for
example, setting the focus or the flash) are not available until this
event is fired. For example, to set the flash for red-eye reduction,
handle the Initialized event and then set the flash like so:
// Some settings require camera to be initialized first
theCamera.Initialized += (s, a) =>
{
if (a.Succeeded)
{
// Taking Portraits
if (theCamera.IsFlashModeSupported(FlashMode.RedEyeReduction))
{
theCamera.FlashMode = FlashMode.RedEyeReduction;
}
}
};
The Initialized event argument includes a property to tell you whether it was successful (the Succeeded property). You should check this first to be certain that you can actually modify the PhotoCamera’s
properties. In this case, we ask the camera if the red-eye reduction
flash is supported on this phone, and if so, we can specify that is the
flash mode we want.
To take a photo, you can use the PhotoCamera’s CaptureImage
method. This tells the camera to take the photo and then fires events
for both a full-size and a thumbnail version of the image. Typically,
this is in response to some event such as a button click:
private void shutter_Click(object sender, RoutedEventArgs e)
{
theCamera.CaptureImage();
}
After the image has been captured, the PhotoCamera class can raise the CaptureImageAvailable and CaptureThumbnailAvailable
events. These events include the actual stream that contains the image,
so you can handle these events and manipulate the resultant photo. For
example, you can take the full image and save it to the media library:
// Photo was captured
theCamera.CaptureImageAvailable += (s,a) =>
{
// Save picture to the device media library.
MediaLibrary library = new MediaLibrary();
library.SavePictureToCameraRoll("SomeFile.jpg", a.ImageStream);
};
The CaptureImageAvailable event argument includes an ImageStream
property that contains the raw photo. You can manipulate this stream in
any way you want, although saving it to the phone is more typical of
what a user might expect.
Like you saw earlier, the PhotoCamera class offers several settings, including
• Flash mode
• Picture resolution
In addition, you can control the focus by using the Focus and Focus-AtPoint
methods. These methods enable you to start the auto-focus
functionality. You need to test to see whether these capabilities are
available:
private void focus_Click(object sender, RoutedEventArgs e)
{
// AutoFocus the Camera
if (theCamera.IsFocusSupported)
{
theCamera.Focus();
}
}
Focusing at a specified point works the same
way, but you need to specify a place to center on. The values should be
between 0.0 and 1.0, so focus at whatever is in the center of the
viewfinder:
private void focusAtPoint_Click(object sender, RoutedEventArgs e)
{
// Focus in the center of the image
if (theCamera.IsFocusAtPointSupported)
{
theCamera.FocusAtPoint(.5, .5);
}
}
Before taking a photo, you will need to be sure the focusing is complete. To do this, you can handle the AutoFocusComplete event:
bool _isFocusComplete = true;
...
theCamera.AutoFocusCompleted += (s, a) =>
{
_isFocusComplete = true;
};
By keeping the state of whether your
application is currently focusing, you can control when a picture is
taken by flipping this flag during focus and shutter operations:
private void focus_Click(object sender, RoutedEventArgs e)
{
// AutoFocus the Camera
if (theCamera.IsFocusSupported)
{
_isFocusComplete = false;
theCamera.Focus();
}
}
private void shutter_Click(object sender, RoutedEventArgs e)
{
if (_isFocusComplete) theCamera.CaptureImage();
}
You might want to use the hardware camera
shutter to handle focus and shutter functions like the built-in camera
application. The CameraButtons class gives you that capability. This class supports three events.
• ShutterKeyPressed: This occurs when the user fully presses the phone’s dedicated camera button.
• ShutterKeyHalfPressed:
This occurs when the user partially presses the phone’s dedicated
camera button. (It is usually used to start a focus operation.)
• ShutterKeyReleased:
This occurs when the user releases the phone’s dedicated camera button
after fully pressing the button. (For example, it does not occur when
the user half-presses the camera button.)
To allow the hardware button to control the camera app, you could handle these events as necessary:
// Wire up shutter button too (instead of UI control)
CameraButtons.ShutterKeyPressed += (s, a) => TakePicture();
CameraButtons.ShutterKeyHalfPressed += (s, a) => theCamera.Focus();
Finally, the PhotoCamera class
gives you raw access to the preview buffer if you need to manipulate
what the user sees in the virtual viewfinder. You would do this via the
GetPreviewBufferXXX methods. You can get the buffer as 32-bit ARGB values, YCbCr, or just luminance data. You can see how this works here:
int[] buffer = new int[640 * 480];
theCamera.GetPreviewBufferArgb32(buffer);
// Manipulate the preview and show on the screen
The buffer you receive from these methods would
have to be used to create a bitmap to show to the user. Often it is
easier to just use the raw camera APIs (shown next) to accomplish this
sort of real-time manipulation of the camera’s feed.
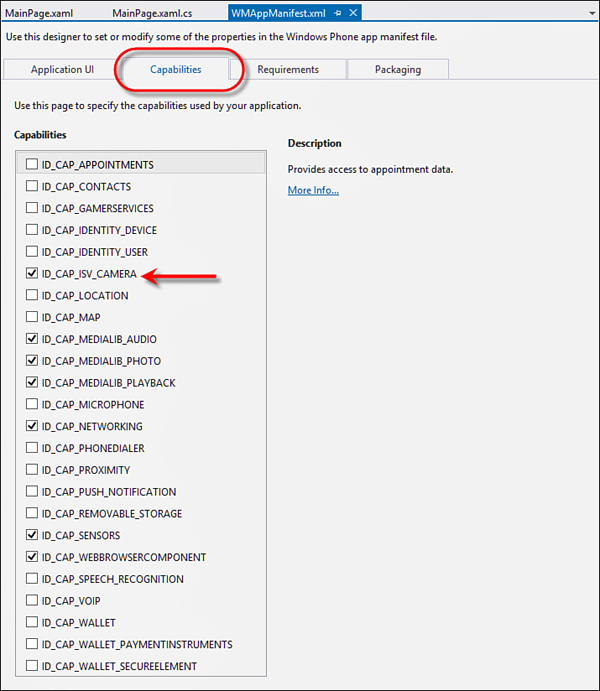
FIGURE 1 Setting the camera capability