Delegating Setup and Administrative Privileges
To continue the installation process, perform the following steps:
1. | From the Deployment Wizard, click on Delegate Setup and Administration under Step 7.
| 2. | Click the Run button underneath Delegate Setup Tasks.
| 3. | At the Setup Delegation Wizard welcome dialog box, click Next to continue.
| 4. | At the Authorize Group dialog box, shown in Figure 7,
choose the Trustee domain and enter a name of an existing Universal
Security group. Members of that group will receive permissions to
activate the server. Click Next to continue.
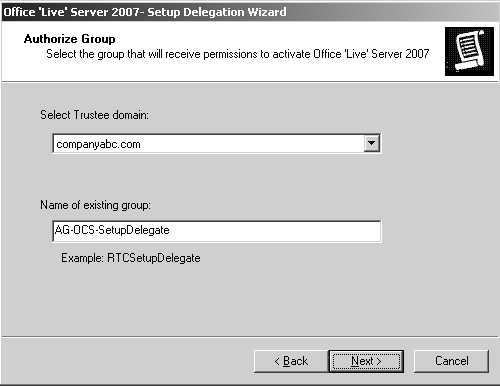
Note
The group chosen must be a Universal Security group, or installation will fail.
| 5. | At
the OU Location dialog box, enter the full distinguished name (DN) of
the organizational unit (OU) where the OCS Server computer accounts will
be located. For example, the following DN was entered in this example:
OU=OCS,OU=Servers,OU=Computers,OU=Resources,DC=companyabc,DC=com
| 6. | After entering the DN of the server’s OU, click Next to continue.
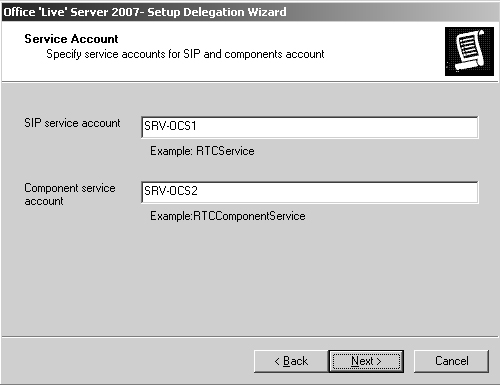
| 7. | Enter
the name of service accounts that will be used for the session
initiation protocol (SIP) and components services, such as that shown in
Figure 8. These accounts should be created in advance in AD.
| 8. | Review the information in the subsequent dialog box, and then click Next to begin setup.
| 9. | Click Finish.
|
At this point, setup of the Active Directory
portion of the OCS Enterprise is complete, and individual servers can
now be deployed.
Configuring IIS on the Server
The installation of the server portion of the
process requires that the WWW Service of Internet Information Services
(IIS) be installed on the server. To install the IIS component, perform
the following actions:
1. | From the server that OCS will be installed on, click Start, Control Panel, Add or Remove Programs.
| 2. | Click Add/Remove Windows Components.
| 3. | Select
Application Server from the list (only click on the name to highlight
it, do not check the box), and click the Details button.
| 4. | Select
Internet Information Services (IIS) from the list (again, only select
it, do not check the box), and then click the Details button.
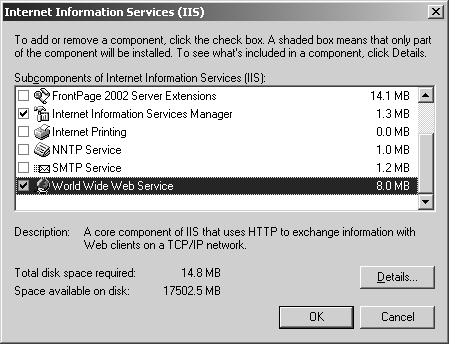
| 5. | Scroll down and check the box for World Wide Web Service, as shown in Figure 9, and click OK.
| 6. | Click OK again and then click Next.
| 7. | If prompted for the CD-ROM, enter the media and click OK.
| 8. | Click Finish.
|
Deploying an OCS 2007 Server
After all of the prerequisites have been
satisfied and the AD schema has been extended, the process for
installing an OCS 2007 standard server can begin. This process will be
the same for as many OCS servers as will need to be deployed. To begin
this process, perform the following steps:
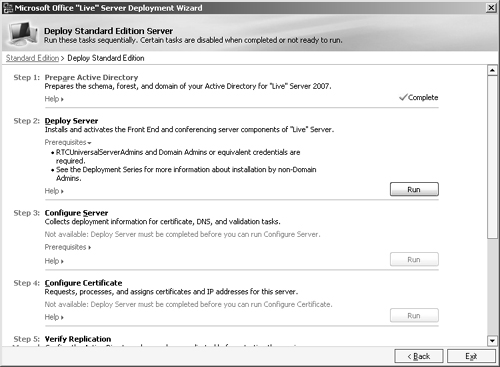
1. | From the Deployment Wizard, click Deploy Standard Edition Server.
| 2. | Under Step 2, click Run, as shown in Figure 10.
| 3. | At the welcome screen, click Next.
| 4. | Leave the installation folder at the default, and click Next to continue.
| 5. | At the account information field, shown in Figure 11, select Use an Existing Account, and enter the service account information entered in the previous steps for delegation.
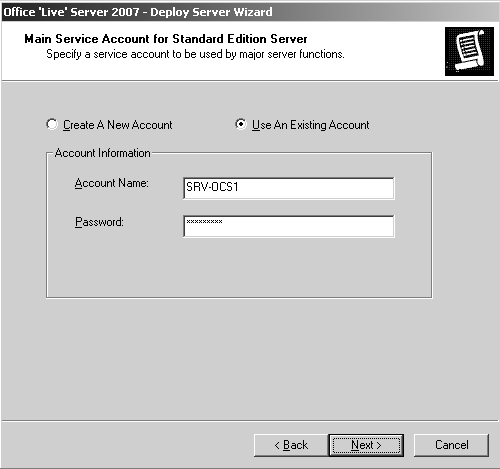
| 6. | At
the Component Service Account dialog box, choose Use an Existing
Account, and then enter the second service account created during the
delegation steps (that is, SRV-OCS2) and its password. Click Next to
continue.
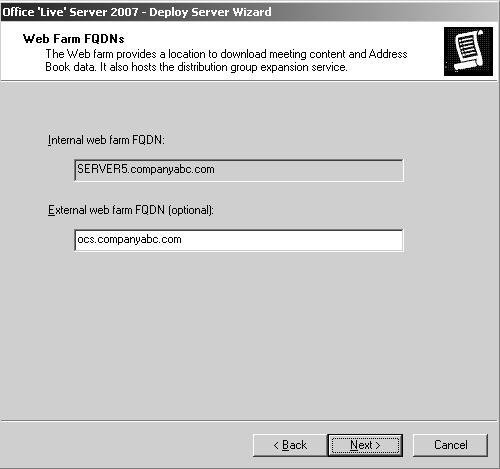
| 7. | In the Web Farm FQDNs dialog box, shown in Figure 12, enter the external FQDN of the farm as it will be made available to Internet users (if applicable). Click Next to continue.
| 8. | Enter the database and log information into the fields in the Database File dialog box. Click Next to continue.
Note
For best performance, separate the database and logs onto physically separate drive sets.
| 9. | Click Next at the Ready to Deploy dialog box.
| 10. | Click Finish.
|
|