programming4us
programming4us
DESKTOP

Windows 7 : ADDING UAC SUPPORT TO YOUR APPLICATION (part 3) - Executing as a Separate Process - Creating the Secondary Project , Configuring the Secondary Project

- Free product key for windows 10
- Free Product Key for Microsoft office 365
- Malwarebytes Premium 3.7.1 Serial Keys (LifeTime) 2019

2. Executing as a Separate Process

Setting an entire application to execute in administrator mode is uncommon and unsafe. The more common scenario is to separate the application into pieces that can execute at one of three levels:

  • With the rights used to invoke them

  • With the highest privileges that the user natively has

  • Administrator mode

The .NET Framework currently executes each level as a separate process, rather than using threads or some other convenient method. The following sections show one scenario that uses separate processes to execute in standard mode and in administrator mode.

2.1. Defining the Separate Process Application

The example begins with a Windows Forms template application named Modify Permission that has a single button, btnChange. You can give the solution and project the same name, if desired. You don't need to add any special references for the example, but you do need to add the following using statement:

using System.Diagnostics;

2.2. Creating the Secondary Project

You add the second process as a separate project. Use the following steps to create the secondary project:

  1. Right-click the solution entry in Solution Explorer and choose Add => New Project from the Context menu. You'll see the Add New Project dialog box shown in Figure 5.

    Figure 5. Add a console application to the current solution.
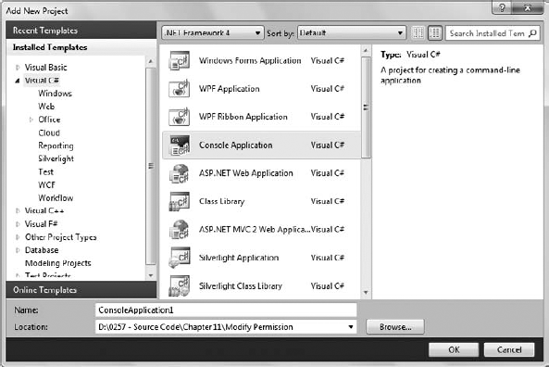
  2. Highlight the Console Application template.

  3. Type SetPermission (no spaces) in the Name field and click OK. Visual Studio adds the SetPermission project to the Modify Permission solution. You also see the SetPermission.CS file opened for editing.

2.3. Configuring the Secondary Project

As a console application, SetPermission doesn't include any controls or other special interface needs. You also won't need to add any references to it. However, you do need to add the following using statements:

using System.Security.AccessControl;
using System.Security.Principal;
using System.IO;

The project needs a special setup as well. You want the output of the build process to appear with the Modify Permission.EXE file to make it easier for Modify Permission.EXE to find it. Use the following steps to configure the build output:
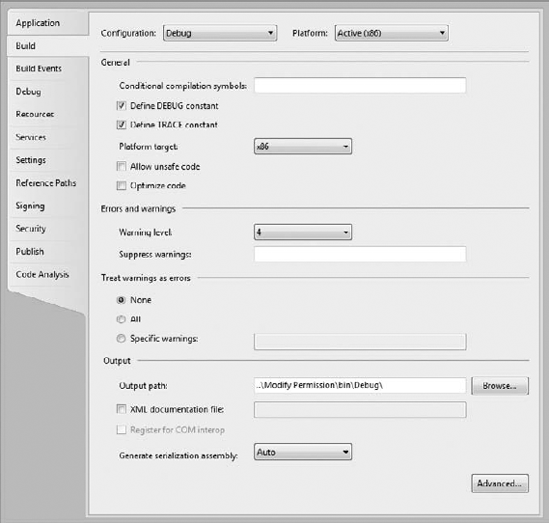
  1. Right-click the SetPermission project entry in Solution Explorer and choose Properties from the Context menu. You see the SetPermission properties window.

  2. Highlight the Build tab.

  3. Select Debug in the Configuration drop-down list box.

  4. Type ..\Modify Permission\bin\Debug\ in the Output Path field. Your Build tab should look like the one shown in Figure 6.

    Figure 6. Make sure you configure the build to place the output with Modify Permission.EXE.
  5. Select Release in the Configuration drop-down list box.

  6. Type ..\Modify Permission\bin\Release\ in the Output Path field.

You also want to be sure that the correct project executes when you debug the application. Right-click the Modify Permission project in Solution Explorer and choose Set as StartUp Project from the context menu. The Modify Permission entry will appear in bold type to indicate that it's the startup project.

Other  
  •  Parallels Desktop 9 For Mac - The Best Of Both Worlds
  •  Windows Server 2008 and Windows Vista : Benefits of Group Policy Preferences (part 2) - Working with Any Organizational Unit Design
  •  Windows Server 2008 and Windows Vista : Benefits of Group Policy Preferences (part 1) - User-Friendly Interface
  •  Windows Server 2008 and Windows Vista : Creating Custom ADMX and ADML Files (part 4) - Using ADMX File Language
  •  Windows Server 2008 and Windows Vista : Creating Custom ADMX and ADML Files (part 3) - Core ADMX File Concepts
  •  Windows Server 2008 and Windows Vista : Creating Custom ADMX and ADML Files (part 2) - Core ADMX File Concepts
  •  Windows Server 2008 and Windows Vista : Creating Custom ADMX and ADML Files (part 1) - ADMX Schema , ADMX File Structure , ADML File Structure
  •  Windows 7 : Custom Libraries and Saved Searches (part 2) - Using Saved Searches
  •  Windows 7 : Custom Libraries and Saved Searches (part 1) - Creating Custom Libraries
  •  Windows 7 : Visualization and Organization - How to Make the Windows Shell Work for You - The Organizational Advantage of Libraries
  •  
    Top 10
    Free Mobile And Desktop Apps For Accessing Restricted Websites
    MASERATI QUATTROPORTE; DIESEL : Lure of Italian limos
    TOYOTA CAMRY 2; 2.5 : Camry now more comely
    KIA SORENTO 2.2CRDi : Fuel-sipping slugger
    How To Setup, Password Protect & Encrypt Wireless Internet Connection
    Emulate And Run iPad Apps On Windows, Mac OS X & Linux With iPadian
    Backup & Restore Game Progress From Any Game With SaveGameProgress
    Generate A Facebook Timeline Cover Using A Free App
    New App for Women ‘Remix’ Offers Fashion Advice & Style Tips
    SG50 Ferrari F12berlinetta : Prancing Horse for Lion City's 50th
    - Messages forwarded by Outlook rule go nowhere
    - Create and Deploy Windows 7 Image
    - How do I check to see if my exchange 2003 is an open relay? (not using a open relay tester tool online, but on the console)
    - Creating and using an unencrypted cookie in ASP.NET
    - Directories
    - Poor Performance on Sharepoint 2010 Server
    - SBS 2008 ~ The e-mail alias already exists...
    - Public to Private IP - DNS Changes
    - Send Email from Winform application
    - How to create a .mdb file from ms sql server database.......
    programming4us programming4us
    programming4us
     
     
    programming4us