7. Editing Pictures
When you double-click an image in Photo Gallery, the
application switches into a viewer mode, which is what you see when you
open image files directly from the Windows shell. In this view, you'll
often want to click the Fix button to display the application's image
editing functions. This is a big change from Windows XP, which didn't
typically offer much in the way of editing functionality beyond the
very basic facilities of Windows Paint. Windows Live Photo Gallery is
also a big improvement over the Windows Photo Gallery application with
which Vista users are familiar.
When you preview an image and then click the Fix
button in Photo Gallery, the display changes by replacing the Info pane
with the Edit pane, providing a list of image editing features, as
shown in Figure 34.
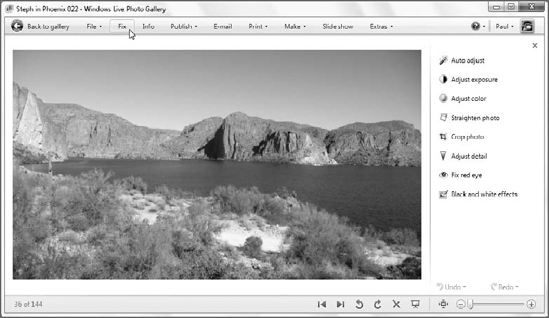
The Photo Gallery image editing features are as follows:
Auto adjust:
This tool evaluates the picture and performs a variety of changes based
on the needs of the image. Basically, it's a best-guess estimate of
what needs to be fixed, and although it's often a decent try, you'll
want to carefully evaluate the changes before committing them to the
file. In fact, be very careful, because it seems that Photo Gallery
wants to auto-straighten every single photo it comes across for some
reason. This includes photos that really don't need such an adjustment. NOTE
Fortunately, Photo Gallery applies any changes
you make to a copy of the original photo and archives the original
photo on disk, at least by default. You can actually change this
functionality so that the original versions of altered files are
automatically moved to the Recycle Bin—via the application's Options
dialog, which you can access via File =>
Options while Photo Gallery is in thumbnail view), but we recommend not
doing so. Because of the compressed nature of JPEG images in
particular, resaving digital photos can result in dramatic quality
reduction. Be careful not to resave JPEG images too often; if you're
going to edit a JPEG file, edit and save it once.
|
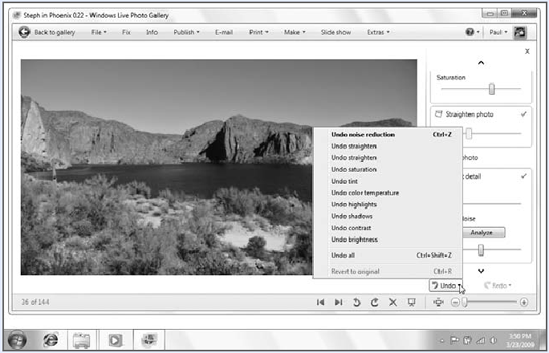
If you don't like what Auto adjust does to your
picture, click the Undo button at the bottom of the Info pane. If
you've performed multiple operations, this button will invoke a pop-up
menu that enables you to choose which operations to undo, or you can
Undo All changes you've made.
|
|
NOTE
The Undo button provides multiple levels of
undo, so if you commit a number of changes, you can access its pop-up
menu, as shown in Figure 35, to undo specific changes or multiple changes all at once.
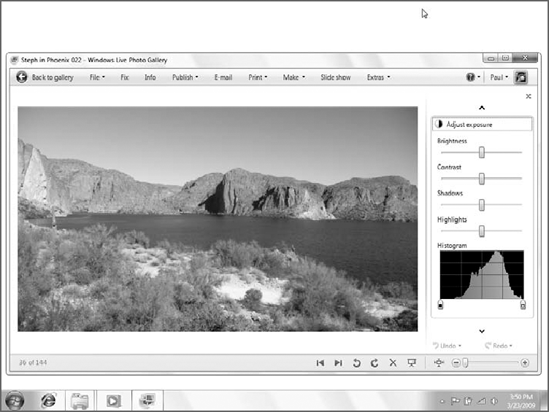
Adjust exposure:
Unlike Auto adjust, this doesn't provide a single-click solution.
Instead, when you click this option, the Info pane expands to display
slider controls for Brightness, Contrast, Shadows, and Highlights, as
well as a Histogram, as shown in Figure 36. Move these individual sliders to the left and right to adjust these properties until you're happy with the results.
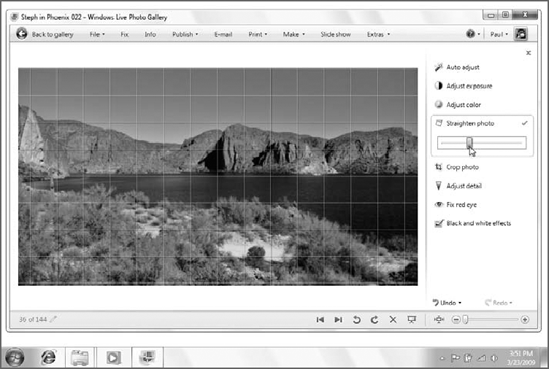
Adjust color:
This is also a little more involved. When you select this option,
another new area expands in the Info pane, letting you use sliders to
adjust the color temperature, tint, and saturation of the photo. Straighten photo: This tool superimposes a grid over the photo, as shown in Figure 37, enabling you to rotate the photo using a slide until the photo is level. Crop photo:
This tool enables you to crop the current picture, to change its aspect
ratio if needed or simply to edit out parts of the picture that are
uninteresting. A Proportion drop-down box, shown in Figure 38,
enables you to determine how you'd like the picture cropped. You can
also use the Rotate frame tool to turn a horizontally aligned 16 × 9
photo into a vertically aligned 16 × 9 photo.
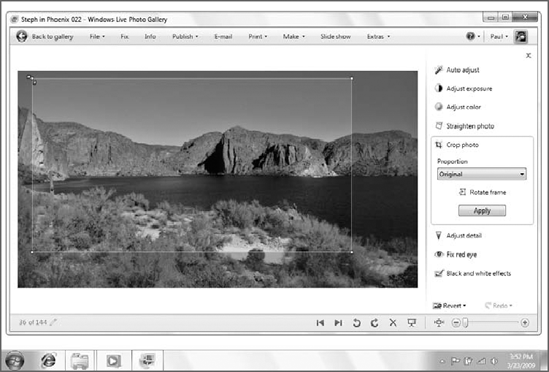
After you have picked a proportion, you can
use the onscreen guide lines to select the portion of the image you'd
like cropped. It will retain the aspect ratio as you increase or
decrease the size of the selection box. Adjust detail: When you click on Adjust detail in the Fix pane, you'll see a Sharpen slider appear, as shown in Figure 39.
Sliding this bar to the right will increase the sharpness of the
picture. This effect can be quite appealing, depending on the photo.
Just be careful not to go too far with it, as oversharpened pictures
tend to be a bit stark-looking.
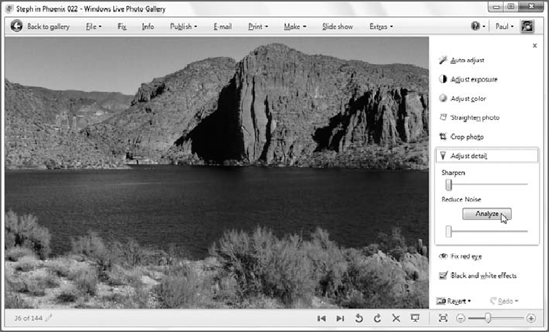
You can also use Adjust detail's Reduce
noise tool to mitigate the effects of visual artifacts. Just click the
Analyze button and Photo Gallery will check your photo and make the
necessary adjustment. If it's not quite right, you can use the slider
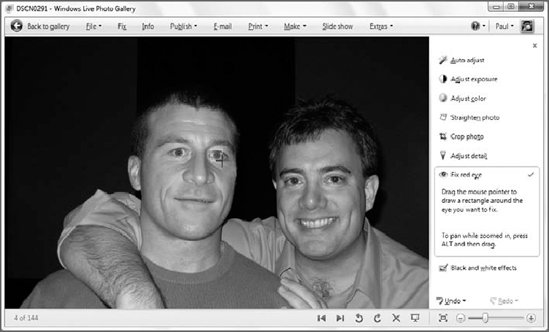
under the Analyze button to fine-tune things. Fix red eye:
Red-eye correction is one of the most often-needed features in any
photo-editing package. Fortunately, the one in Photo Gallery works
pretty well. Simply click this option and then draw a rectangle around
each eye you want to correct in the current picture, as shown in Figure 40.
When you release the mouse button, Photo Gallery attempts to remove the
red eye. It's usually pretty successful, but you may need to try a few
times to get it just right.
Black and white effects:
Photo Gallery also includes five black and white filters that enable
you to filter the image with an orange, sepia tone, yellow, red, or
cyan filter.
NOTE
There are some handy keyboard shortcuts
you can use while editing pictures with Photo Gallery. For example, you
can zoom in on a picture by pressing Ctrl (or Alt) and the + key at the
same time, and zoom out with Ctrl (or Alt) and the – key. Normally,
when you're zoomed in, you can move around the picture using the small
hand cursor. But in certain edit tasks, such as Crop Picture and Fix
Red Eye, the cursor changes for other purposes, preventing you from
navigating around a zoomed picture. To return temporarily to the hand
icon in these edits, hold down the Alt key and move around with the
mouse. Then, release the Alt key and the cursor will return to the way
it was before. By the way, Ctrl+0 zooms the picture back to its default
zoom level (that is, the picture fills the entire viewing area).
|