2. Customizing the Detailed Network Report
To customize the Detailed Network Report, follow these steps:
Click Reports in the Windows SBS Console.
Right-click Detailed Network Report and select View Report
Properties.
The Report Properties dialog box opens on the General
page. You can change both the report name and description by
typing in new ones. Click Content.
On the Content page, select the areas you want to include
on the report.
Click E-Mail Options. Select the user accounts that should
receive the report when it’s generated, as shown in Figure 5. Enter the
email addresses for additional recipients in the Other E-Mail
Addresses box. When you enter multiple email addresses, separate
each address with a semicolon.

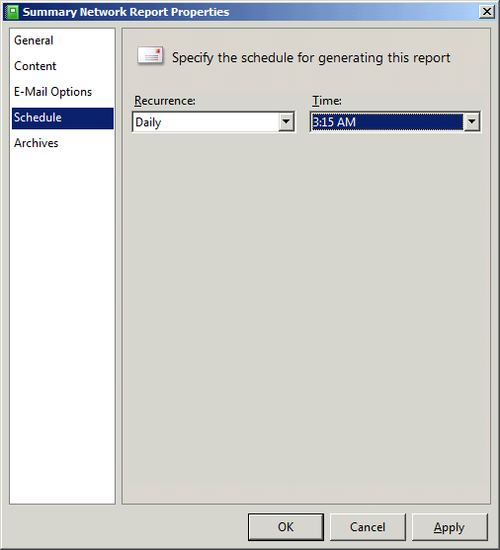
Click Schedule to specify the frequency with which the
report will be generated and the time it will be generated. The
day of the week and time can be changed for weekly reports, or you can choose a daily report and
specify the time of day to generate the report. (See Figure 6.)
Click Archives to view a list of past reports. To see a report, select it and click View
Report. The report will display in an Internet Explorer window.
Click OK when finished.
3. Creating a New Report
Using the same format as the Summary and Detailed reports, you can build a new report to suit
your specific needs. For example, let’s say you outsource certain
administrative tasks and want to send a regular security report to
the person who handles it. You’d follow these steps to create that
report:
Click Reports in the Windows SBS Console.
In the Tasks pane, click Add A New Report.
On the General page, type in a name and description for
the report.
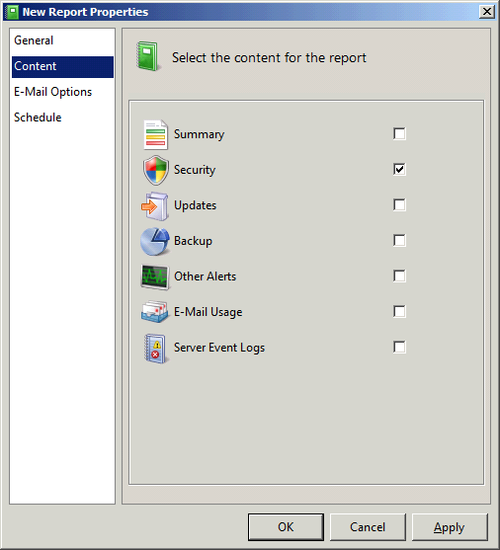
Click Content. Select the subject or subjects you want
included in the report, as shown in Figure 7.
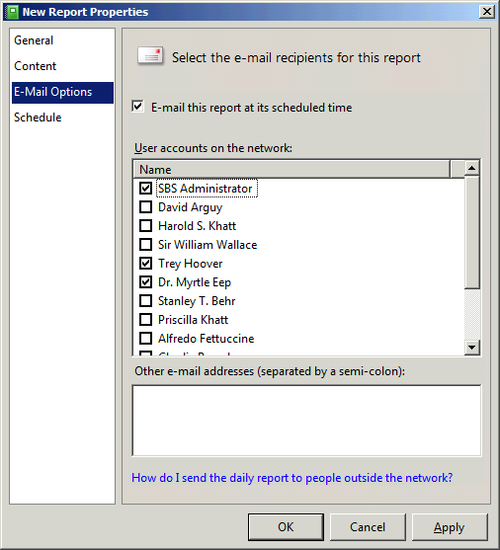
Click E-Mail Options. Select the addresses to email the
report to and add the addresses of any others not already
listed. (See Figure 8.) When you
enter multiple email addresses, separate each address with a
semicolon.
Click Schedule to specify the frequency with which the
report will be generated and the time it will be generated. The
day of the week and time can be changed for weekly reports. Or you can choose a daily report and
specify the time of day to generate the report.
Click OK when you’re finished to save the new report and
add it to the list in the Windows SBS console.
Note:
The Archives page isn’t available until a report has been
saved.