My prints still look strange
Even with a calibrated monitor, there are
plenty of reasons you could still be turning out strange-looking prints. If
this is the case, an understanding of color spaces can also make a difference.
A color space is way of describing the
number of colors an image can contain, and the two main ones you’ll come across
as a photographer are sRGB is the smaller one, which means an image captured or
exported as an sRGB file can contain fewer colors than an image exported as an
Adobe RGB file.
Dual displays
If you run a dual-monitor setup on your
Mac, make sure the hardware calibrator you buy will allow you to profile two
monitors at the same time. If it can’t, only one of your monitors will be
calibrated, and being able to only use for photo work will be frustrating.
It best to work in Adobe RGB, but the most
important thing to remember is to keep all your files and devices working in
the same color space. If your image is an Adobe RGB file and you send it to a
printer (or a web browser) expecting an sRGB file, colors that don’t fit in the
smaller color space will be changed – often inaccurately to their closest match
in the new color space, leading to less-punchy (and sometimes plain wrong)
colors. Using the wrong paper in your printer can cause problems, and it’s hard
to guarantee top quality when you’re using third-party rather than
manufacturer-made inks. If you’re after the best-quality results, stick to the
inks your printer’s manufacturer recommends.
Jargon-Buster
LED vs. LCD: Two ways of lighting a
flat-panel monitor. LED is more energy-efficient.
Color space: The maximum number of colors
available to a device or image. Check which color space a photo printer expects
you to use.
If you’ve grasped color spaces and have
used a calibrator, tracking the cause of still-strange print should be
straightforward.
How to calibrate your monitor for the first time
1. Warm up your monitor
This is the first and most important step
in the calibration process. Mostly, that’s because older monitors in particular
take a while to warm up, and only gradually reach their proper brightness after
they’re been on for a while. This means if you calibrate a monitor only a few
minutes after you turn it on, there’s a risk that you’re taking an inaccurate
measurement from it since it’s yet to actually get going properly. Of course,
exactly how long you need to leave it on will vary from monitor to monitor, but
a 30-minute warm-up should cover just about all ages.
Warm
up your monitor
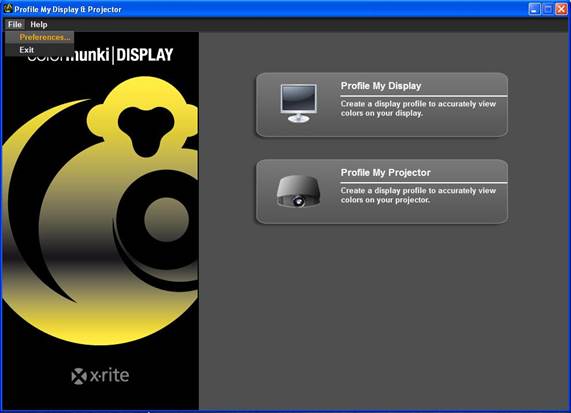
2. Preparing the Wizard
Once you’ve installed the software that
came with your calibrator (check online for the most up-to-date version), it
will probably start every time you turn on your Mac. Calibrators are designed
to be reasonably straightforward, and in many cases all you need to do is click
“Next” a few times and show a bit of patience. You may be prompted to choose
the white point of your monitor, in which case you’ll generally want to choose
D65, which is a close approximation of natural light. Arguably, a cooler
setting such as D50 is better for users producing work to be viewed under
florescent lights, but D65 is by far the norm for modern digital imaging.
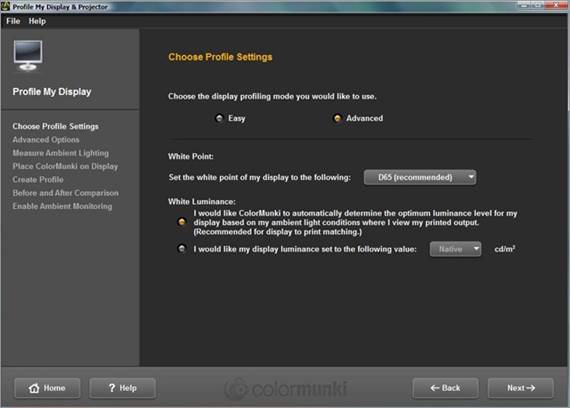
Preparing
the wizard
3. Running the Wizard
Actually calibrating your monitor is a
chance to stretch your legs. Most calibration software takes around five
minutes to run, during which time your calibrator measures the color and
brightness of your monitor as it cycles through a range of different colors and
shades. There’s not really much you can do to influence the process as it
happens, but remember that calibrators are designed to cancel out sources of
ambient light, so the sensor of your calibrator should be absolutely flush
against the screen. Calibrators with small suction cups to attach them to the
screen are preferable in this regard.
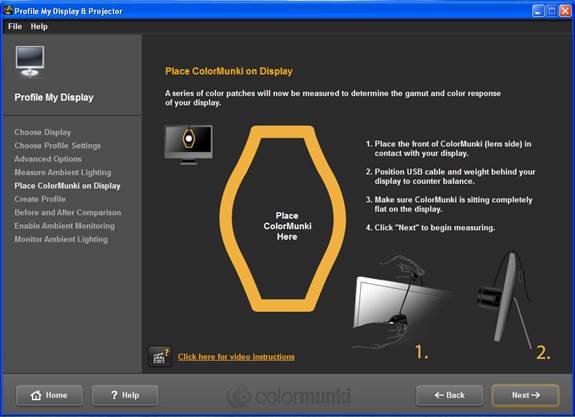
Running
the wizard
4. Keeping it accurate
Your new calibrator would be waste of money
if you only used it once a year. As your monitor degrades over time, you’ll
need to remeasure it to make your images stay as accurate as they can possibly
be. Any good piece of calibration software will alert you when it’s time to
re-calibrate. Your calibrator may also support ambient-light measurement, where
it periodically measures the amount of flight you’re working in and adjusts
your screen brightness to fit. Just make sure your calibrator is measuring
truly ambient light and never direct light, to avoid it giving inaccurate
readings.