Hardware devices that aren't hot-pluggable
require a bit more effort than hot-pluggable devices. Most require that
you turn off the computer, connect the device, turn the device on, and
then turn the computer back on. You might also need to install some
software to get the device to work. It all depends on the device you're
connecting. As always, you have to read the instructions that came with
the device for specifics. I can only provide general guidelines and
examples here that give you an idea of what to expect.

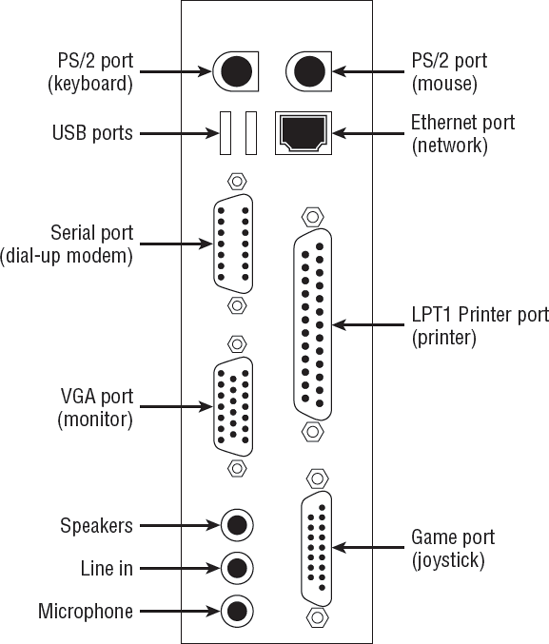
Most computers have the ports pointed out in Figure 46-9.
Your computer may have more or fewer such ports, and your ports
probably won't be arranged exactly like that. On a notebook computer,
some of the ports will likely be on the side of the computer, perhaps
hidden under a sliding or hinged door. But the basic shape of each port
will be as shown in the figure.
You can install some devices inside the computer case. These connect to sockets inside the computer case on the motherboard (also called the mainboard).
The motherboard is a circuit board that provides the wiring between all
the hardware devices that make up the system, including the CPU, memory
(RAM), internal disk drives, and everything else. The sockets that
accept these devices are called expansion slots, and the devices that go in them are typically called adapter cards.
Figure 10 provides a general idea of what different types of internal slots and ports look like.
4.1. Installing expansion cards
Many internal hardware devices are PCI Cards, which
slide into a PCI slot. The slots are positioned so that one end of the
card lines up perfectly with the back of the computer, exposing one or
more external connectors. Figure 11 shows a general example of what such a card looks like.
Newer motherboards may have PCI Express (PCIe) and
PCI Express 16. These provide faster communication between the
motherboard, which in turn allows for more powerful expansion cards. The
PCI Express 16 slot is ideal for high-powered graphics cards designed
to work with advanced graphics and large High Definition TV screens. The
AGP (Accelerated Graphics Port) port is designed specifically for a
graphics card.
Before you buy an expansion card, you need to know
what slots are available on your motherboard. Before you install a card,
you need to read the instructions that came with the card. There is no
one-rule-fits-all fact that applies to all of the thousands of hardware
devices you can add to a PC. You should install the device exactly as
instructed in the instructions provided by the manufacturer of the
device. Winging it is likely to lead to many hours of hair-pulling
frustration. It's also very important that you turn off the computer
before opening the case to install a card. Remove the power cord too.
Ideally, you should wear an antistatic wrist strap so that you don't
generate any static electricity that could damage any of the components
in the computer, potentially rendering it unusable and voiding your
warranty.
Many AGP and PCIe 16 slots have a locking mechanism
to hold the card steady in the slot. You have to make sure that it's in
the unlocked position before you try to insert the card into the slot.
When installing the card, push firmly on the card to make sure you
really get it in there. Don't force it and break it, but push it in well
enough to ensure that it's firmly and evenly seated within its slot. If
the slot has a locking mechanism, push it into the locked position. Put
the case cover back together again, plug in the power cord, and then
turn on the PC.
|
When removing a card that has a locking device, don't
forget to slide it into the unlocked position. Trying to force the card
out of the locked slot would likely cause a lot of damage!
|
|
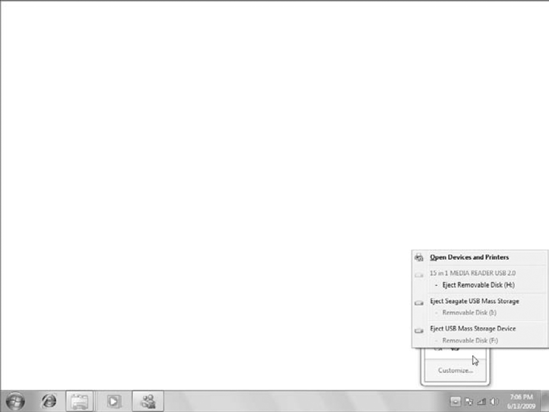
If the device is plug-and-play (as many
modern devices are), the rest should be easy. The computer should boot
up normally, but you won't necessarily get to the desktop right away.
Instead, Windows should detect the new device, and go through an
installation procedure to get the device working. You'll get some
feedback on the screen as that's happening, in the form of Notification
area messages. When the notification messages stop and the desktop looks
normal, the device should be ready to use.