File
type and maximum magnification
As mentioned above, the maximum
magnification is available in playback that is only about 6x, and even when
shooting large JPEGs. If you only write RAW files, it drops dramatically, and
is nowhere near enough to check critical focus. For a one-off check, you can
convert the RAW to JPEG in the camera which always creates a Large Fine JPEG,
and thus provides the highest magnification available. But we would seriously
consider shooting RAW + Large JPEG as a matter of course, only to be possible
to check fine focus. Here is a full summary of how maximum playback
magnification depends on the file type and image resolution for 3:2 (the
compression setting, Normal or Fine, has no effect):
File
Type / Size / Maximum playback magnification (approx.)
·
RAW/ 2.5x
·
Small JPEG / RAW + Small JPEG/ 3.3x
·
Medium JPEG / RAW + Medium JPEG/ 4.4x
·
Large JPEG / RAW + Large JPEG/ 6x
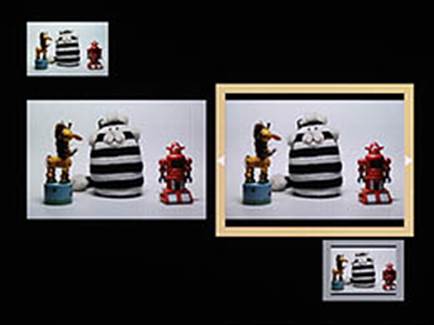
Image display
The X-E1 offers a selection of four image
displays in playback, but the first two are not very useful, and the last one
is cramming too many images on the screen that makes it difficult to realize
what is happening.

Pressing
the "zoom out" button in playback once offers this display that is
not really useful.
Pressing
it a second time offers this replaced screen that is not really useful.
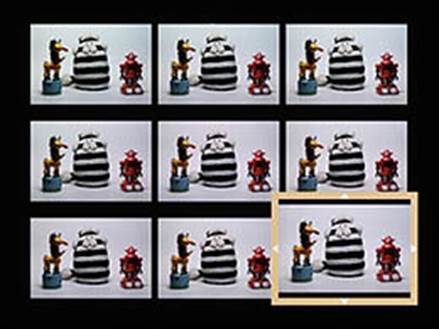
Pressing
again to bring up this 3x3 image grid finally is useful.
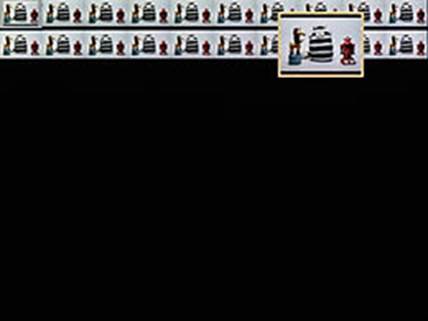
One
more press offers this 100 –frame image display that is useless, in which each
image border is too small to recognize, and portrait format images displayed in
the wrong way.
Image
search menu
One of the more useful playback menu items
of Fujifilm is the Image Search option. Using this item is capable of sorting
images on various criteria: the most useful thing is that images sorted by date
taken or favorites reviewing, but also by whether you’ve marked them to upload
to Youtube or Facebook.
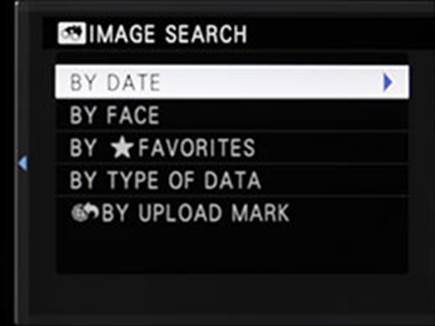
The
Image Search menu allows you to arrange photos and videos in many ways.
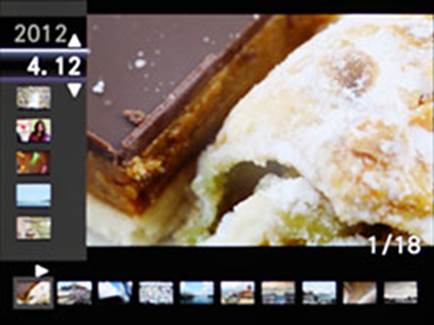
Maybe
most handy (and much more information) is the By Date option.

You
can also view photos by star rating (assuming that you have rated them)...
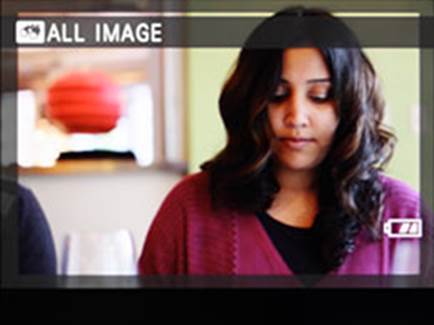
...or
find photos of you or your friends or family by searching for images with
faces.
Image
deletion
One operation that behaves rather strangely
on X-E1 is image deletion. It's good in the 'Information On' and 'Off
Information' modes, but oddly as it is not available in the 'Favorites'
interface. In the 'Detail Information' interface it slows apparently and
requires the image display to change to a full-screen display before displaying
the 'Erase OK' dialogue after a little hesitation. This means that if you are
working through snapshots and deleting the obvious failed images, then it's
best to work from another display mode.
Raw
conversion in the camera
One of the most useful striking features of
the X-E1 is capable of converting raw in the camera. This is far from unique,
of course (lots of cameras can also do that), but Fujifilm offers an unusually
broad control over the development parameters, including independent control
over highlight and shadow tone, plus noise reduction and operating range.
The interface is simple and easy to be
accessible. Though, strangely that you cannot select the aspect ratio (which is
always the full 3:2 of the captured raw file, even if the original JPEG was
captured in 16:9) and the output size of compression of the created JPEG (which
is always Large Fine).

To
use in-camera RAW conversion, first find a picture you want to handle.
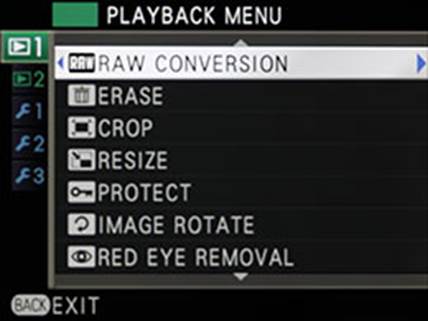
Press
the Menu button and the first item is the Raw conversion. Press the right arrow
to start.

You
can choose to simply reflect the shooting conditions, or select processing
parameters to try.
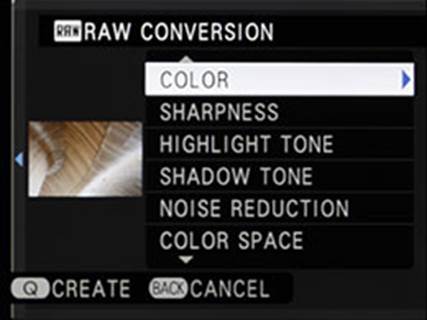
Scroll
down and you reach a second optional setting. Note that the left thumbnail
image on the left does not update to reflect your new settings (and is too
small to be useful for this)
Dynamic
Range can be reduced from the initial use, but cannot increased (you cannot
magically transform a raw file into a JPEG DR400 DR100, for instance - the data
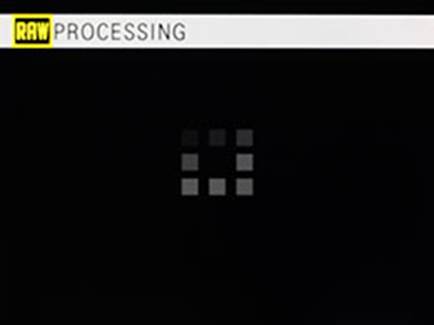
is simply not there). At this point, the camera will think out happily for
itself in a few seconds...
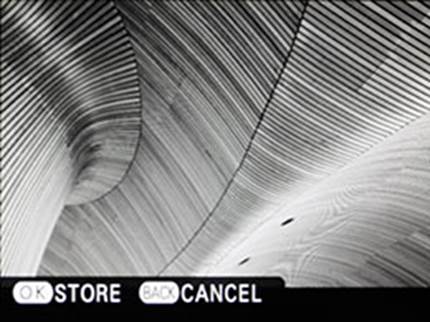
To
create a preview of your new switching, press the Q. button ... then show you a
preview for to approve and save or cancel. Only at this point you can see the
impact of your changes. If you are satisfied, press "OK" and the
camera will save a new JPEG.